Kamado Smoked Beef Cheek Tacos with Charred Corn Salsa and Pickled Carrots
This one has been on the todo list for a while. Kamado smoked beef cheeks are amazing and they are so easy. For some, the name “beef cheeks” sounds like some odd part of the animal that is not meant to be eaten, how wrong that perception is.
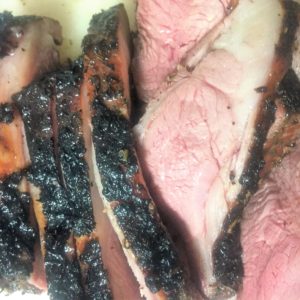
With the right low and slow treatment in the kamado, you have a deliciously gelatinous beef cheek.
My plan was to have these beef cheeks as pulled beef cheek tacos or soft taco wraps, rather than sliced.
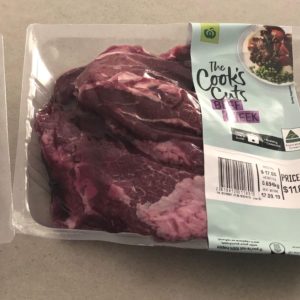
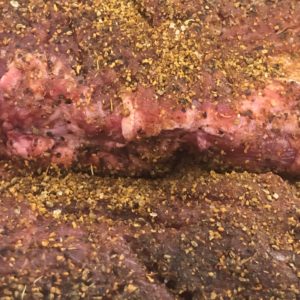
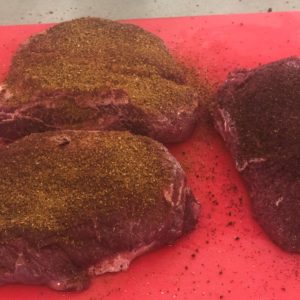
Being my first time with this cut of beef I didn’t know what to expect. Opening the packaging it was immediately obvious why these beef cheeks are best done low and slow. Cows chew A LOT, so the cheek muscle is well used it also has a lot of collagen running through it. This is the ideal scenario for low and slow.
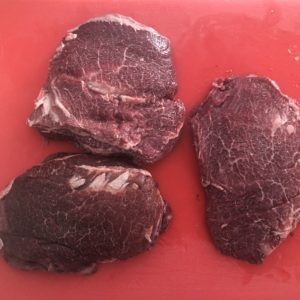
From what I have read online and these beef cheeks were pretty well-trimmed. I only needed to remove a small amount of hard fat and a tiny section of silver skin.
Happy with the trim I added a generous coating of rub, one got the Lanes Ancho Espresso treatment and the other couple got BBQ rub. Don’t be shy about the application of your favourite rub. The meat is quite fatty and it will also be braised so it can handle a good amount of rub without the risk of overpowering the natural beefy goodness.
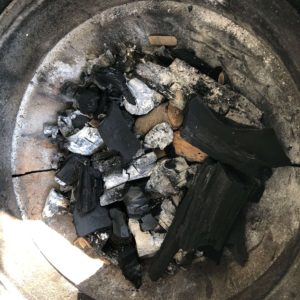
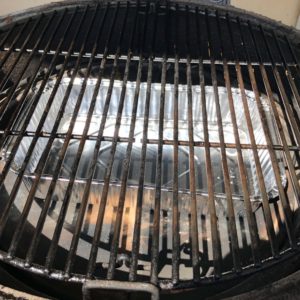
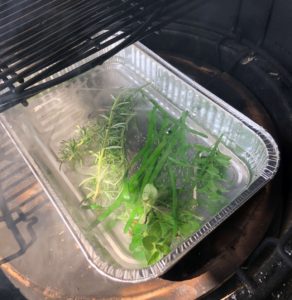
Kamado set up
Traditional low and slow setup. Full firebox, cherry and apple wood for smoke. Deflectors in the low position. My personal preference is to use a drip pan, in this instance, I added boiling water to the pan just before the meat went on. In the water, I added a handful of aromatics that I have growing in the garden rosemary, thyme and garlic chives. My main aim with the drip pan is to catch the fat and juice coming from the meat. Help keep the deflectors clean and prolongs my need for a high heat clean.
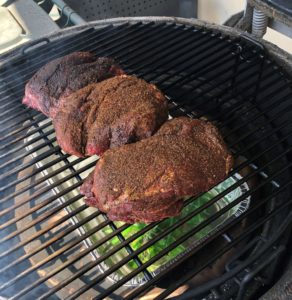
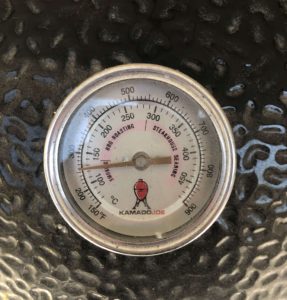
Put your beef cheeks on once the kamado has settled into a temperature between 108C [225F] and 135C [275F] but don’t be to stressed with your temps.
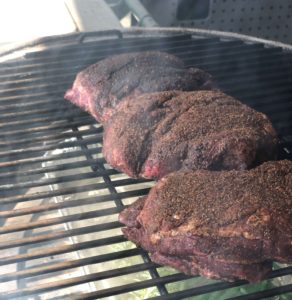
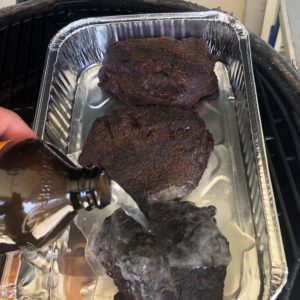
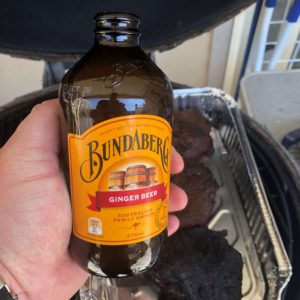
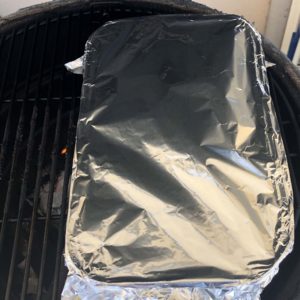
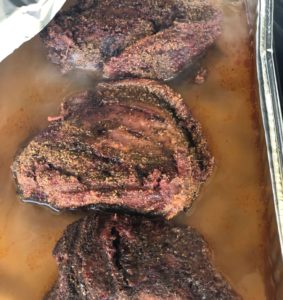
A couple of hours in, and once you are happy with your bark/colour it is time to give them a bath in your chosen liquid. In this instance, I used ginger beer. Use enough liquid to cover approximately ½ way up the beef cheek. Cover over the beef cheeks with foil and let them braise for an hour, then flip and recover for another hour.
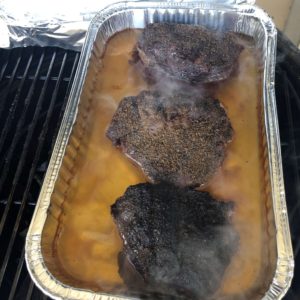
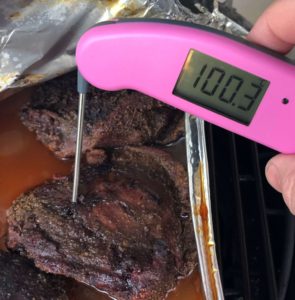
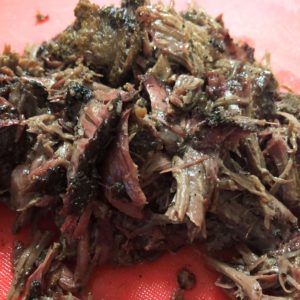
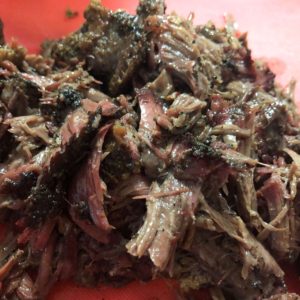
At this point ( around 5 hrs from start) check for the desired tenderness. I use the tip of my thermopen and if it feels as if you are pushing it into soft butter you are ready to remove and rest. Not quite there? Just put it back in the liquid and check again in ½ hr or so.

I let these rest for around 40 minutes while I prepped the other parts of the meal.
One of the sides that I had never tried before was pickled carrots – amazing.
So happy with how these turned out and was the perfect addition to the wraps. Crunchy and tangy amazing.
Pickled Carrots
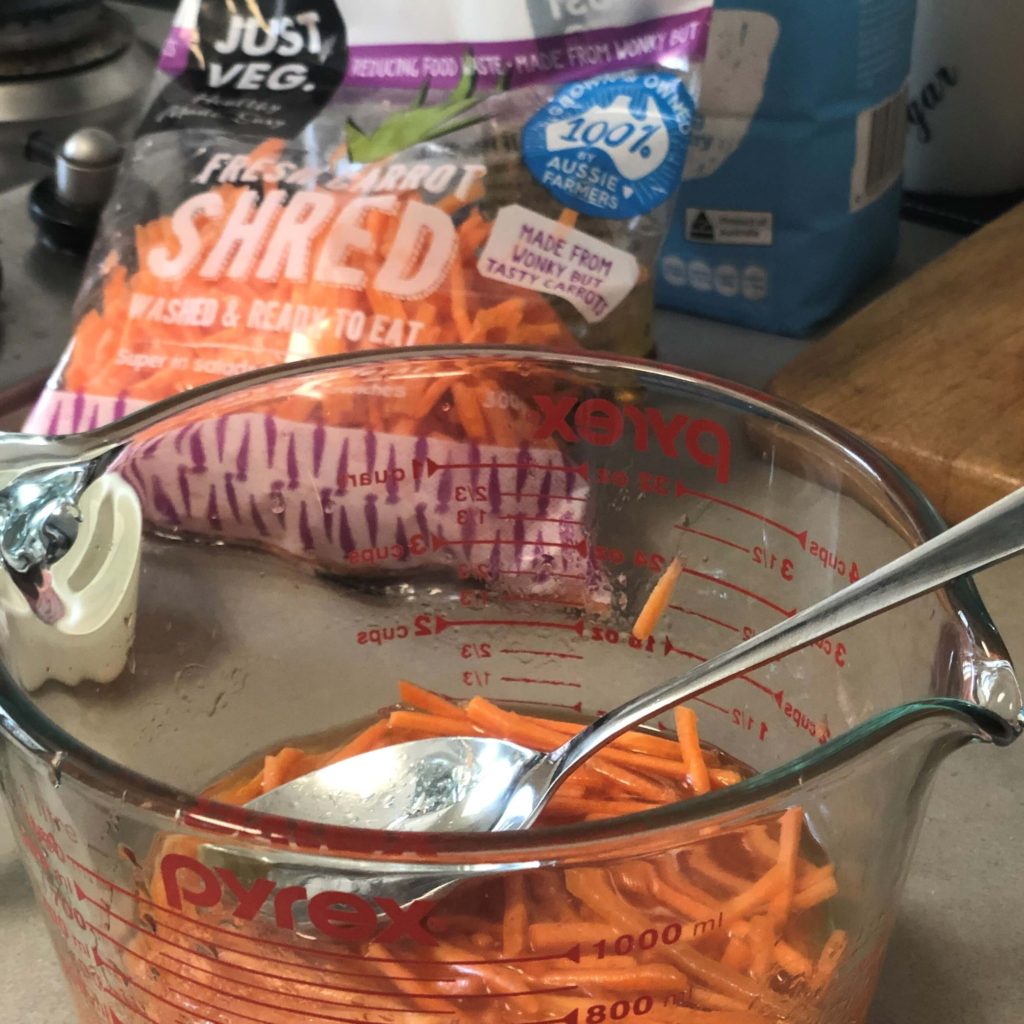
Add sliced carrots to 1 part rice wine vinegar, ½ part sugar, ~ 2 tbsp sesame oil 1 tsp salt.( all whisked together) Let this sit in the fridge for a minimum of an hour, but the longer the better.
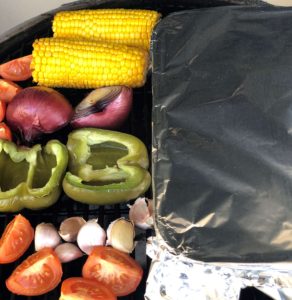
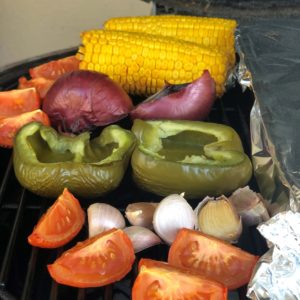
The other side I put together was a charred corn salsa. Pretty straight forward. While the beef cheeks were in the liquid I set up a dual temperature zone in the Kamado. The beef cheeks on the indirect side and the salsa ingredients on the direct side.
Once you have enough colour and the ingredients are cooked to your liking just blitz them together with a little lemon juice and salt.

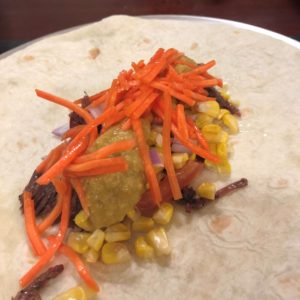
Taco Time
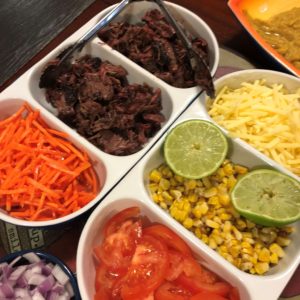
I assembled the smoked beef cheeks, pickled carrots and charred corn salsa onto a roast garlic wrap, it was amazing.
There are so many uses I can think of for the pulled beef cheeks. Taco’s, Ragu, Sandwiches etc, the list is endless. Such a versatile and often overlooked cut of beef that can quite often provide real value for money.
My inspiration for smoked beef cheeks came from this youtube video from Glen @Glens Aussie BBQ. Check it out and give him a subscribe.
Till next time Joe On!