Amazingly Tasty Smash Burgers on the Kamado Joe
Confession time, long before the term Smash Burgers became popular this is exactly the way that I cooked burgers. If you are not flattening (the smash part) your burgers then you are just cooking rissoles or meatballs. Now that the term is in pop BBQ culture there is a cult following and an accessory industry popping up behind it. Custom burger smashers and the like, some of which are amazing. Keep an eye out for an upcoming review post.
Here is my attempt at Smash Burgers on the Kamado Joe.
Ingredients:
Burger Patties
- 500g beef mince
- 500g pork mince
- 1 finely diced onion
- 2 rashers of bacon finely diced
- 1 egg
- 2 tablespoons Garlic powder or to taste
- 2 tablespoons of BBQ sauce (more or less depending on the moistness of the mix)
- Salt, Pepper and your favourite BBQ rub to taste
- 1 per burger nice sliced cheese (I use a sharp or extra sharp cheese)
- *Breadcrumbs if your mix is too moist
Assembled Burger
- Fresh bread rolls, buttered
- Sliced tomato
- Lettuce
- Sliced beetroot
- Sauce of choice
Kamado Setup:
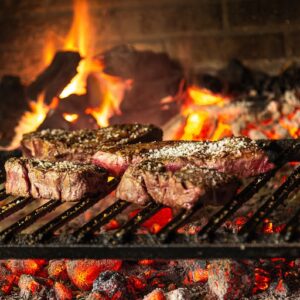
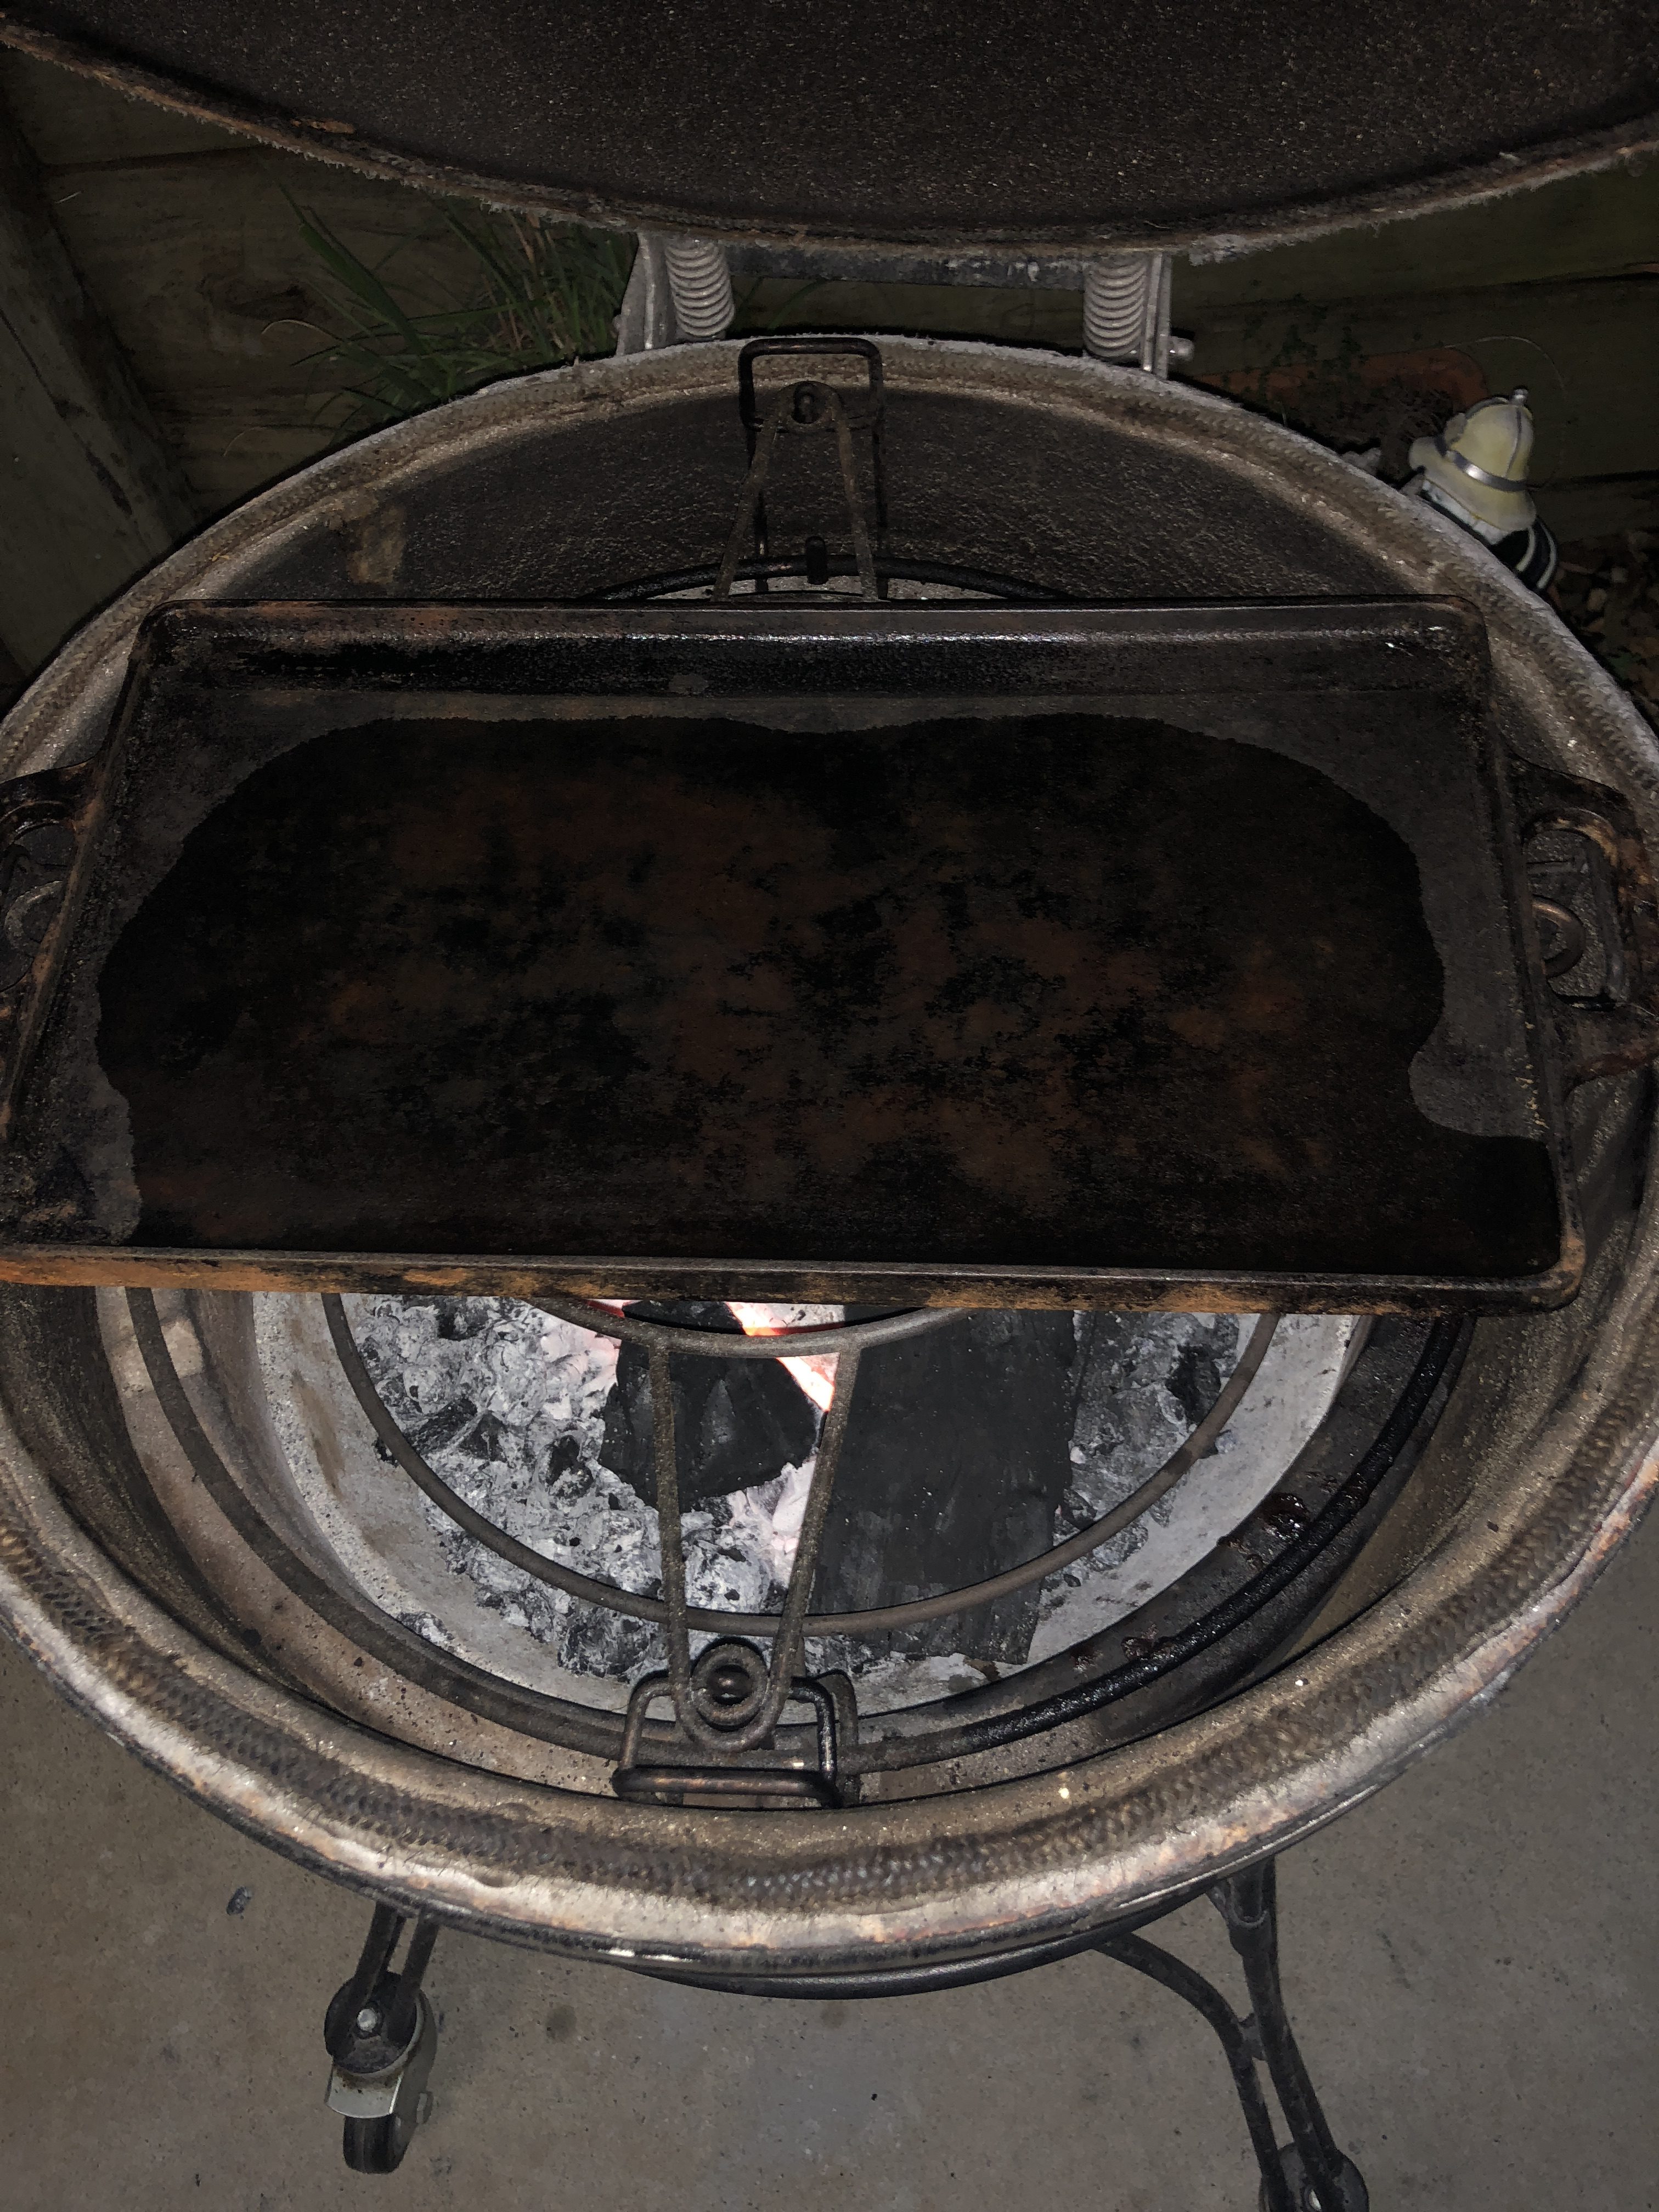
For the Smash Burgers on the Kamado Joe, we are looking to set up for direct grilling on a hotplate. Establish a good bed of fire/coals and aim for ~175/210c (350/450f) dome temp. As the cook is relatively short I don’t add any smoke wood, just rely on the charcoal to provide the awesomeness.

Method:
- Combine all of the ingredients in an appropriately sized mixing bowl. Combine well and adjust the moistness of the mixture to your desired level. I find that you want a mixture that is a little sticky to touch. To dry add some additional sauce, alternately if it is too wet add some breadcrumbs to the mix. Remember it is easier to make the mixture wetter than it is to dry it out.
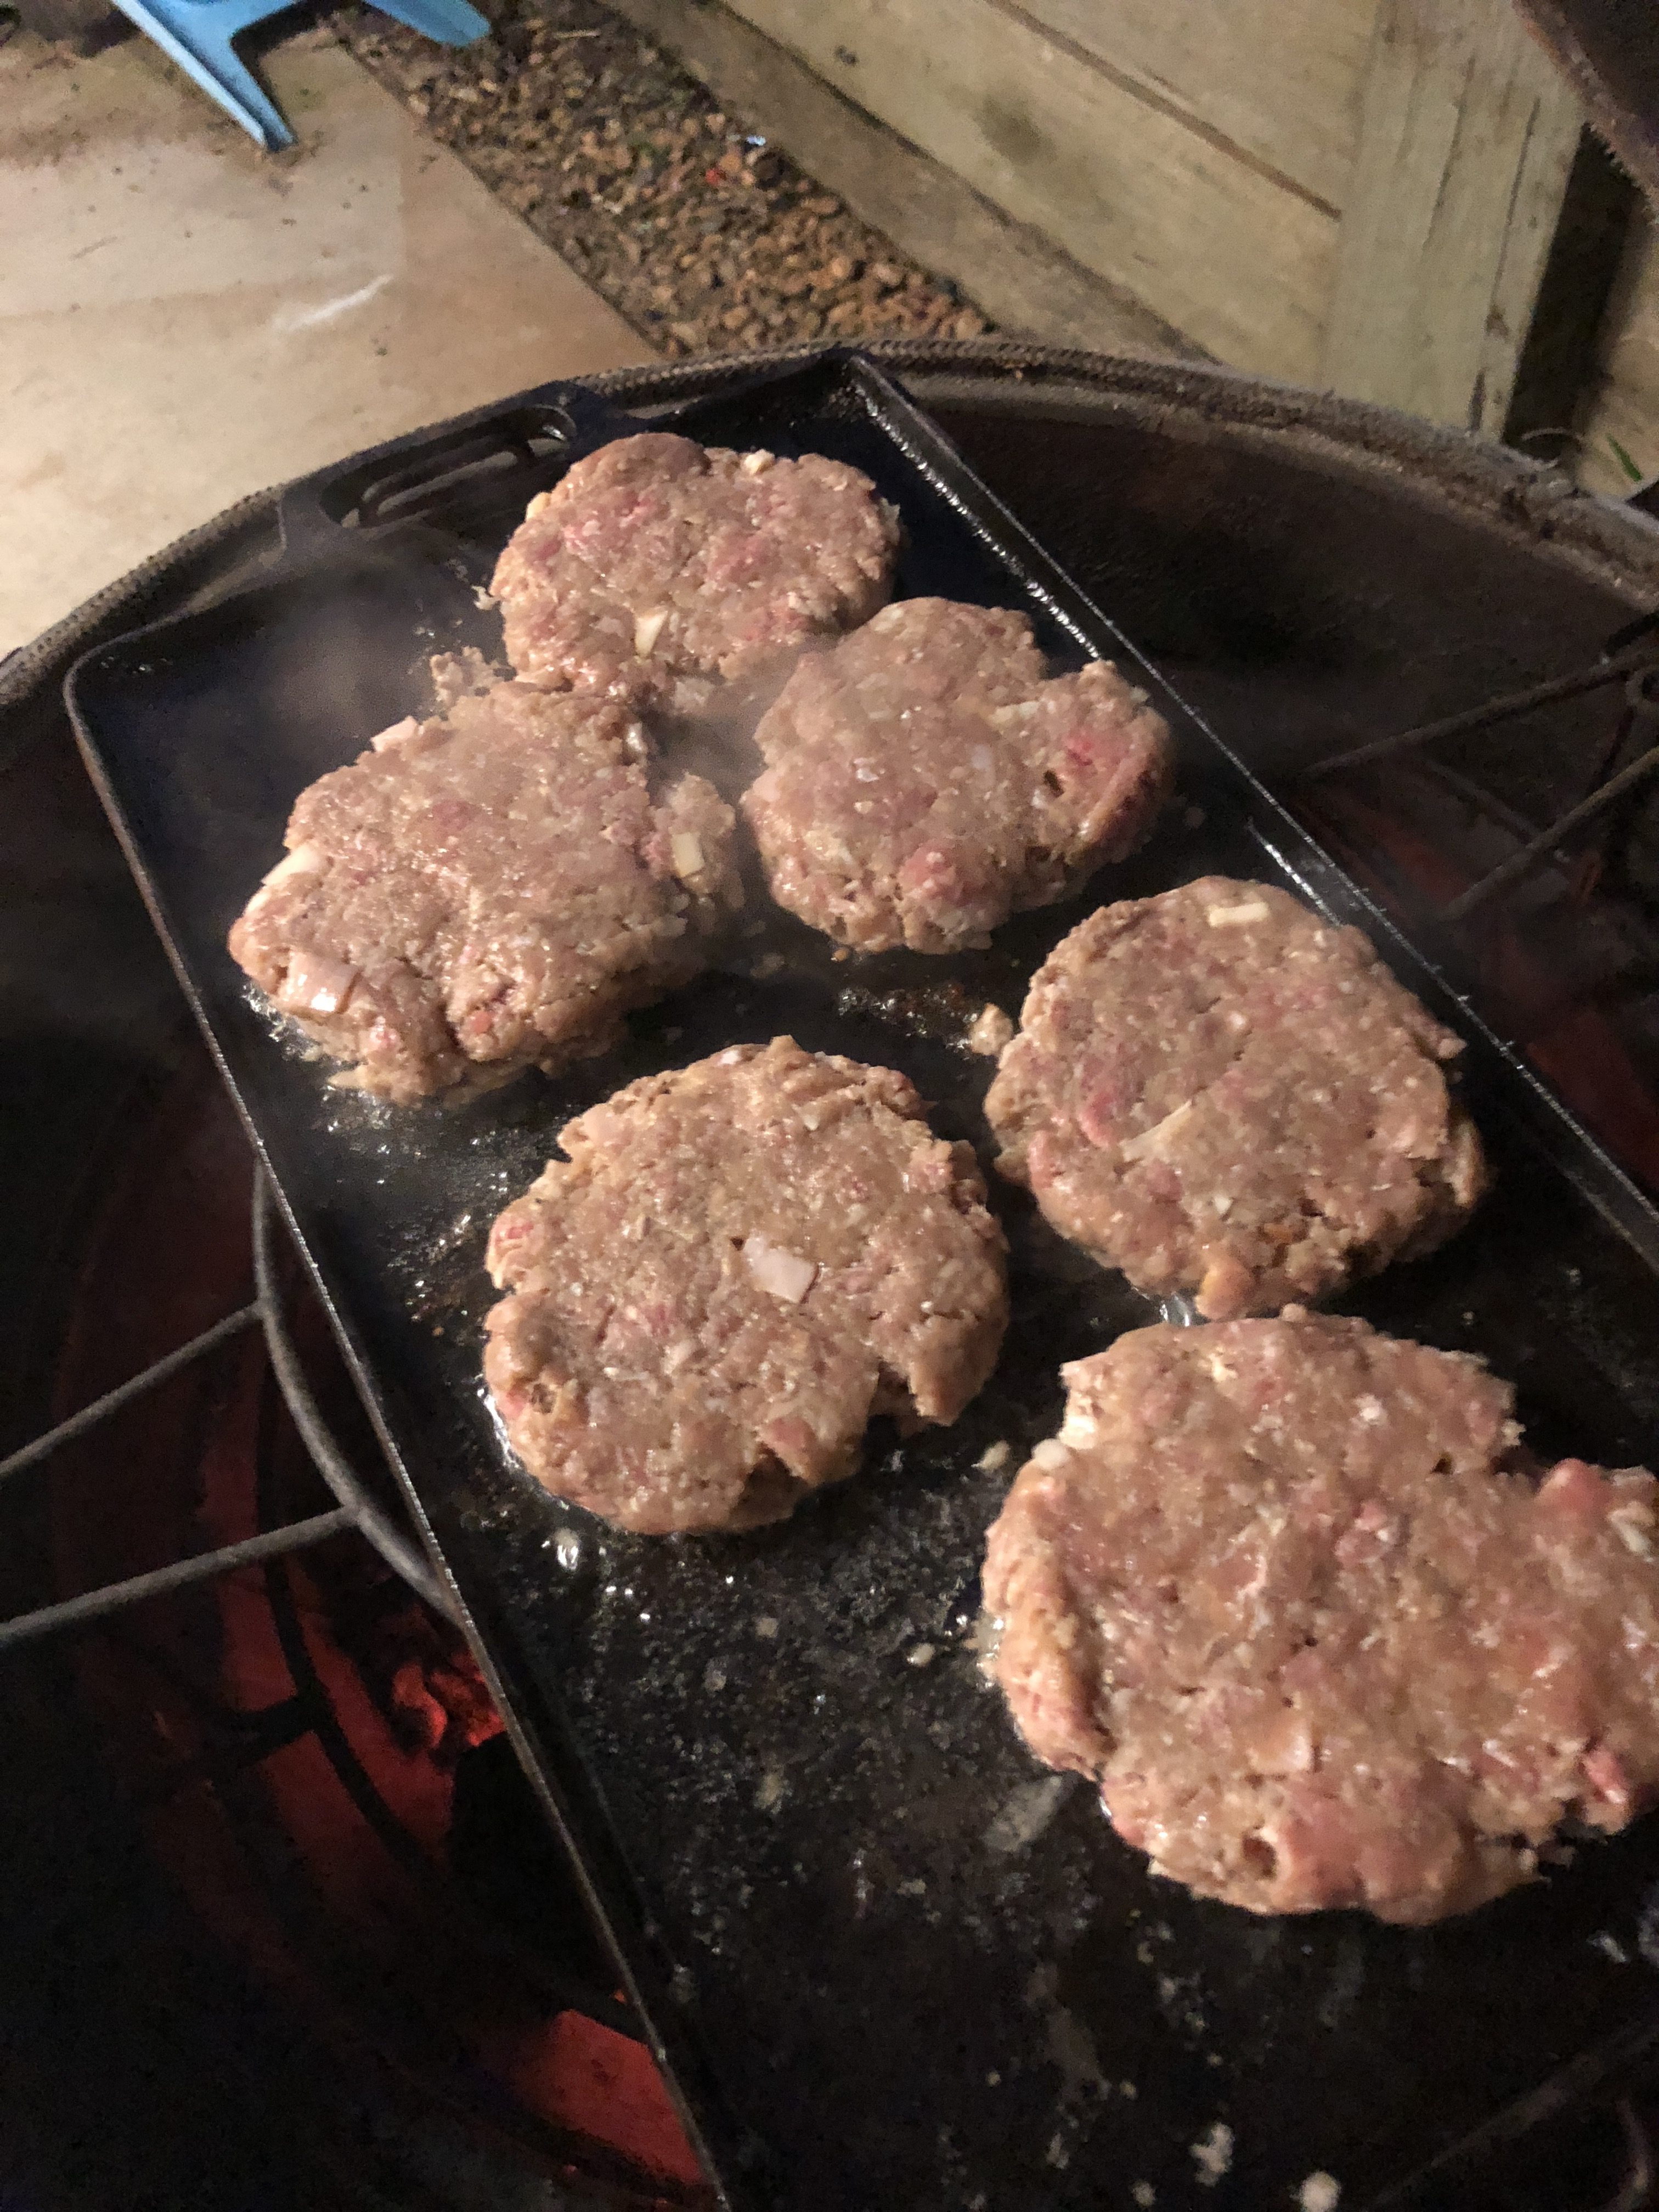
- Form the burger patty to a balls size of around 6-7cm diameter.
- With the grill plate oiled and up to temp add the burgers.
- After around 30 seconds, with your implement of choice flatten (smash) the burger down to your desired thickness, around 1.5cm.
- Flip once the cooked side is nice and jiggered and looking crispy. You are aiming for a nice caramelisation without burning.
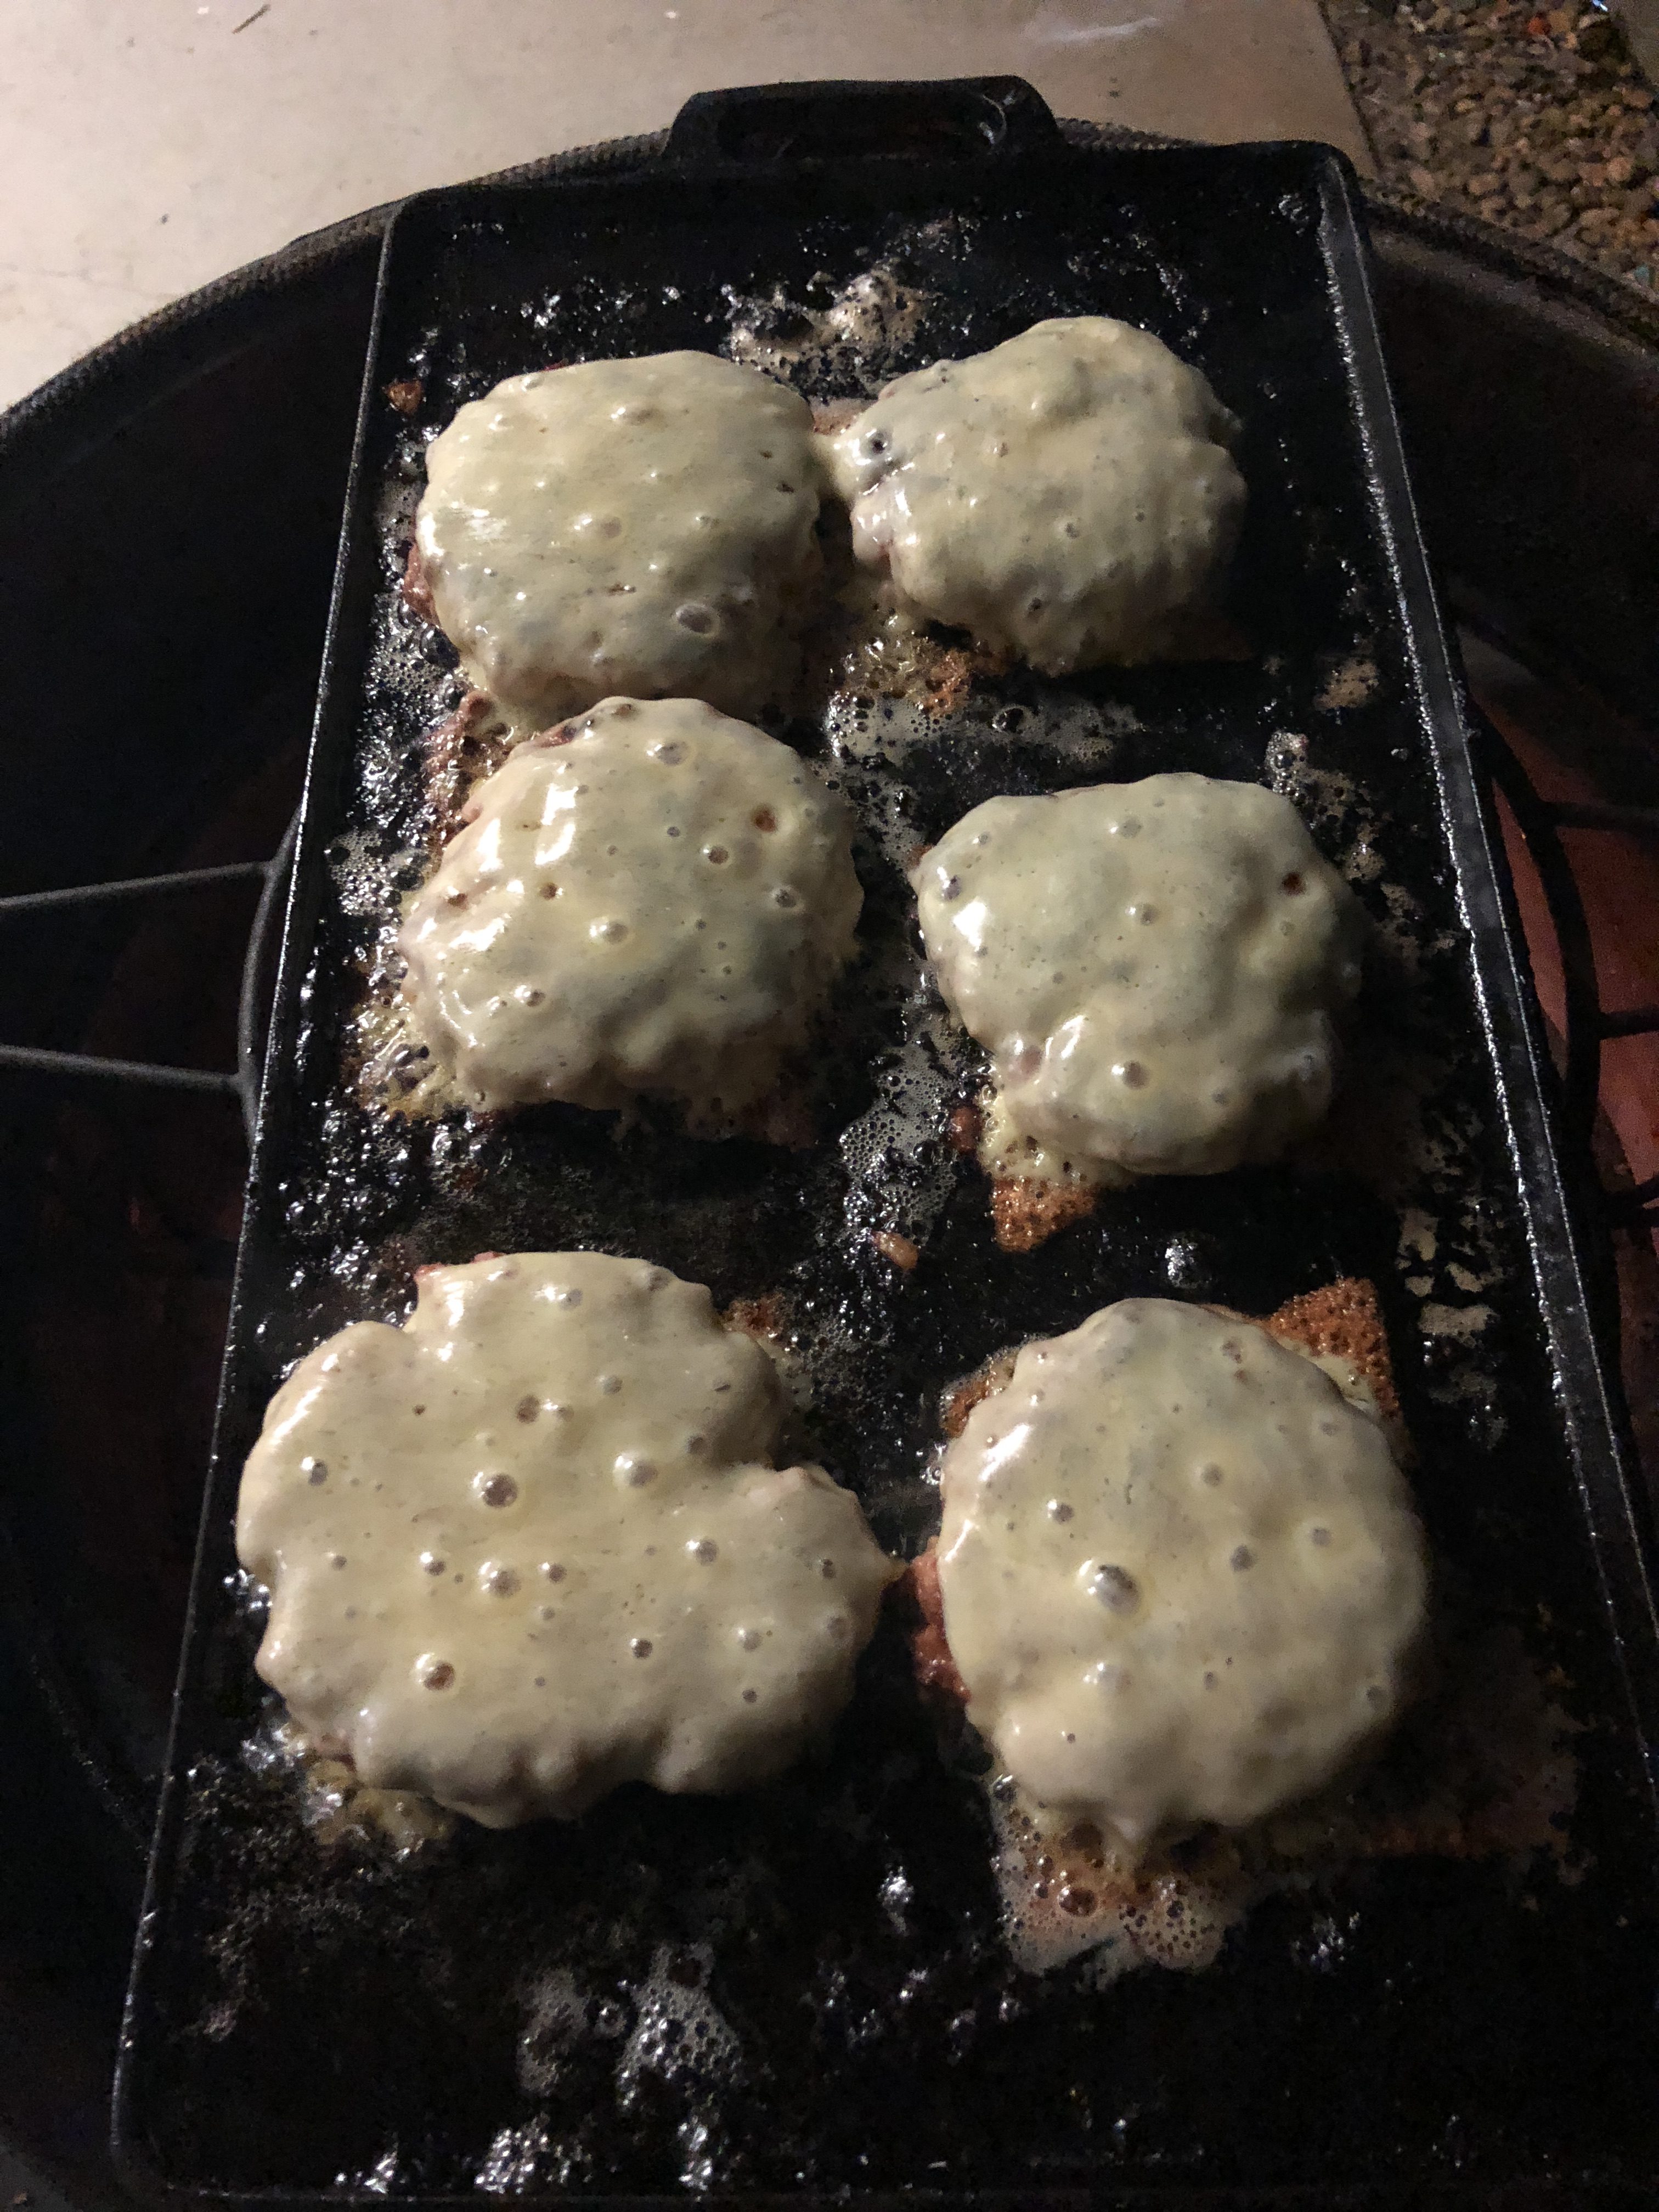
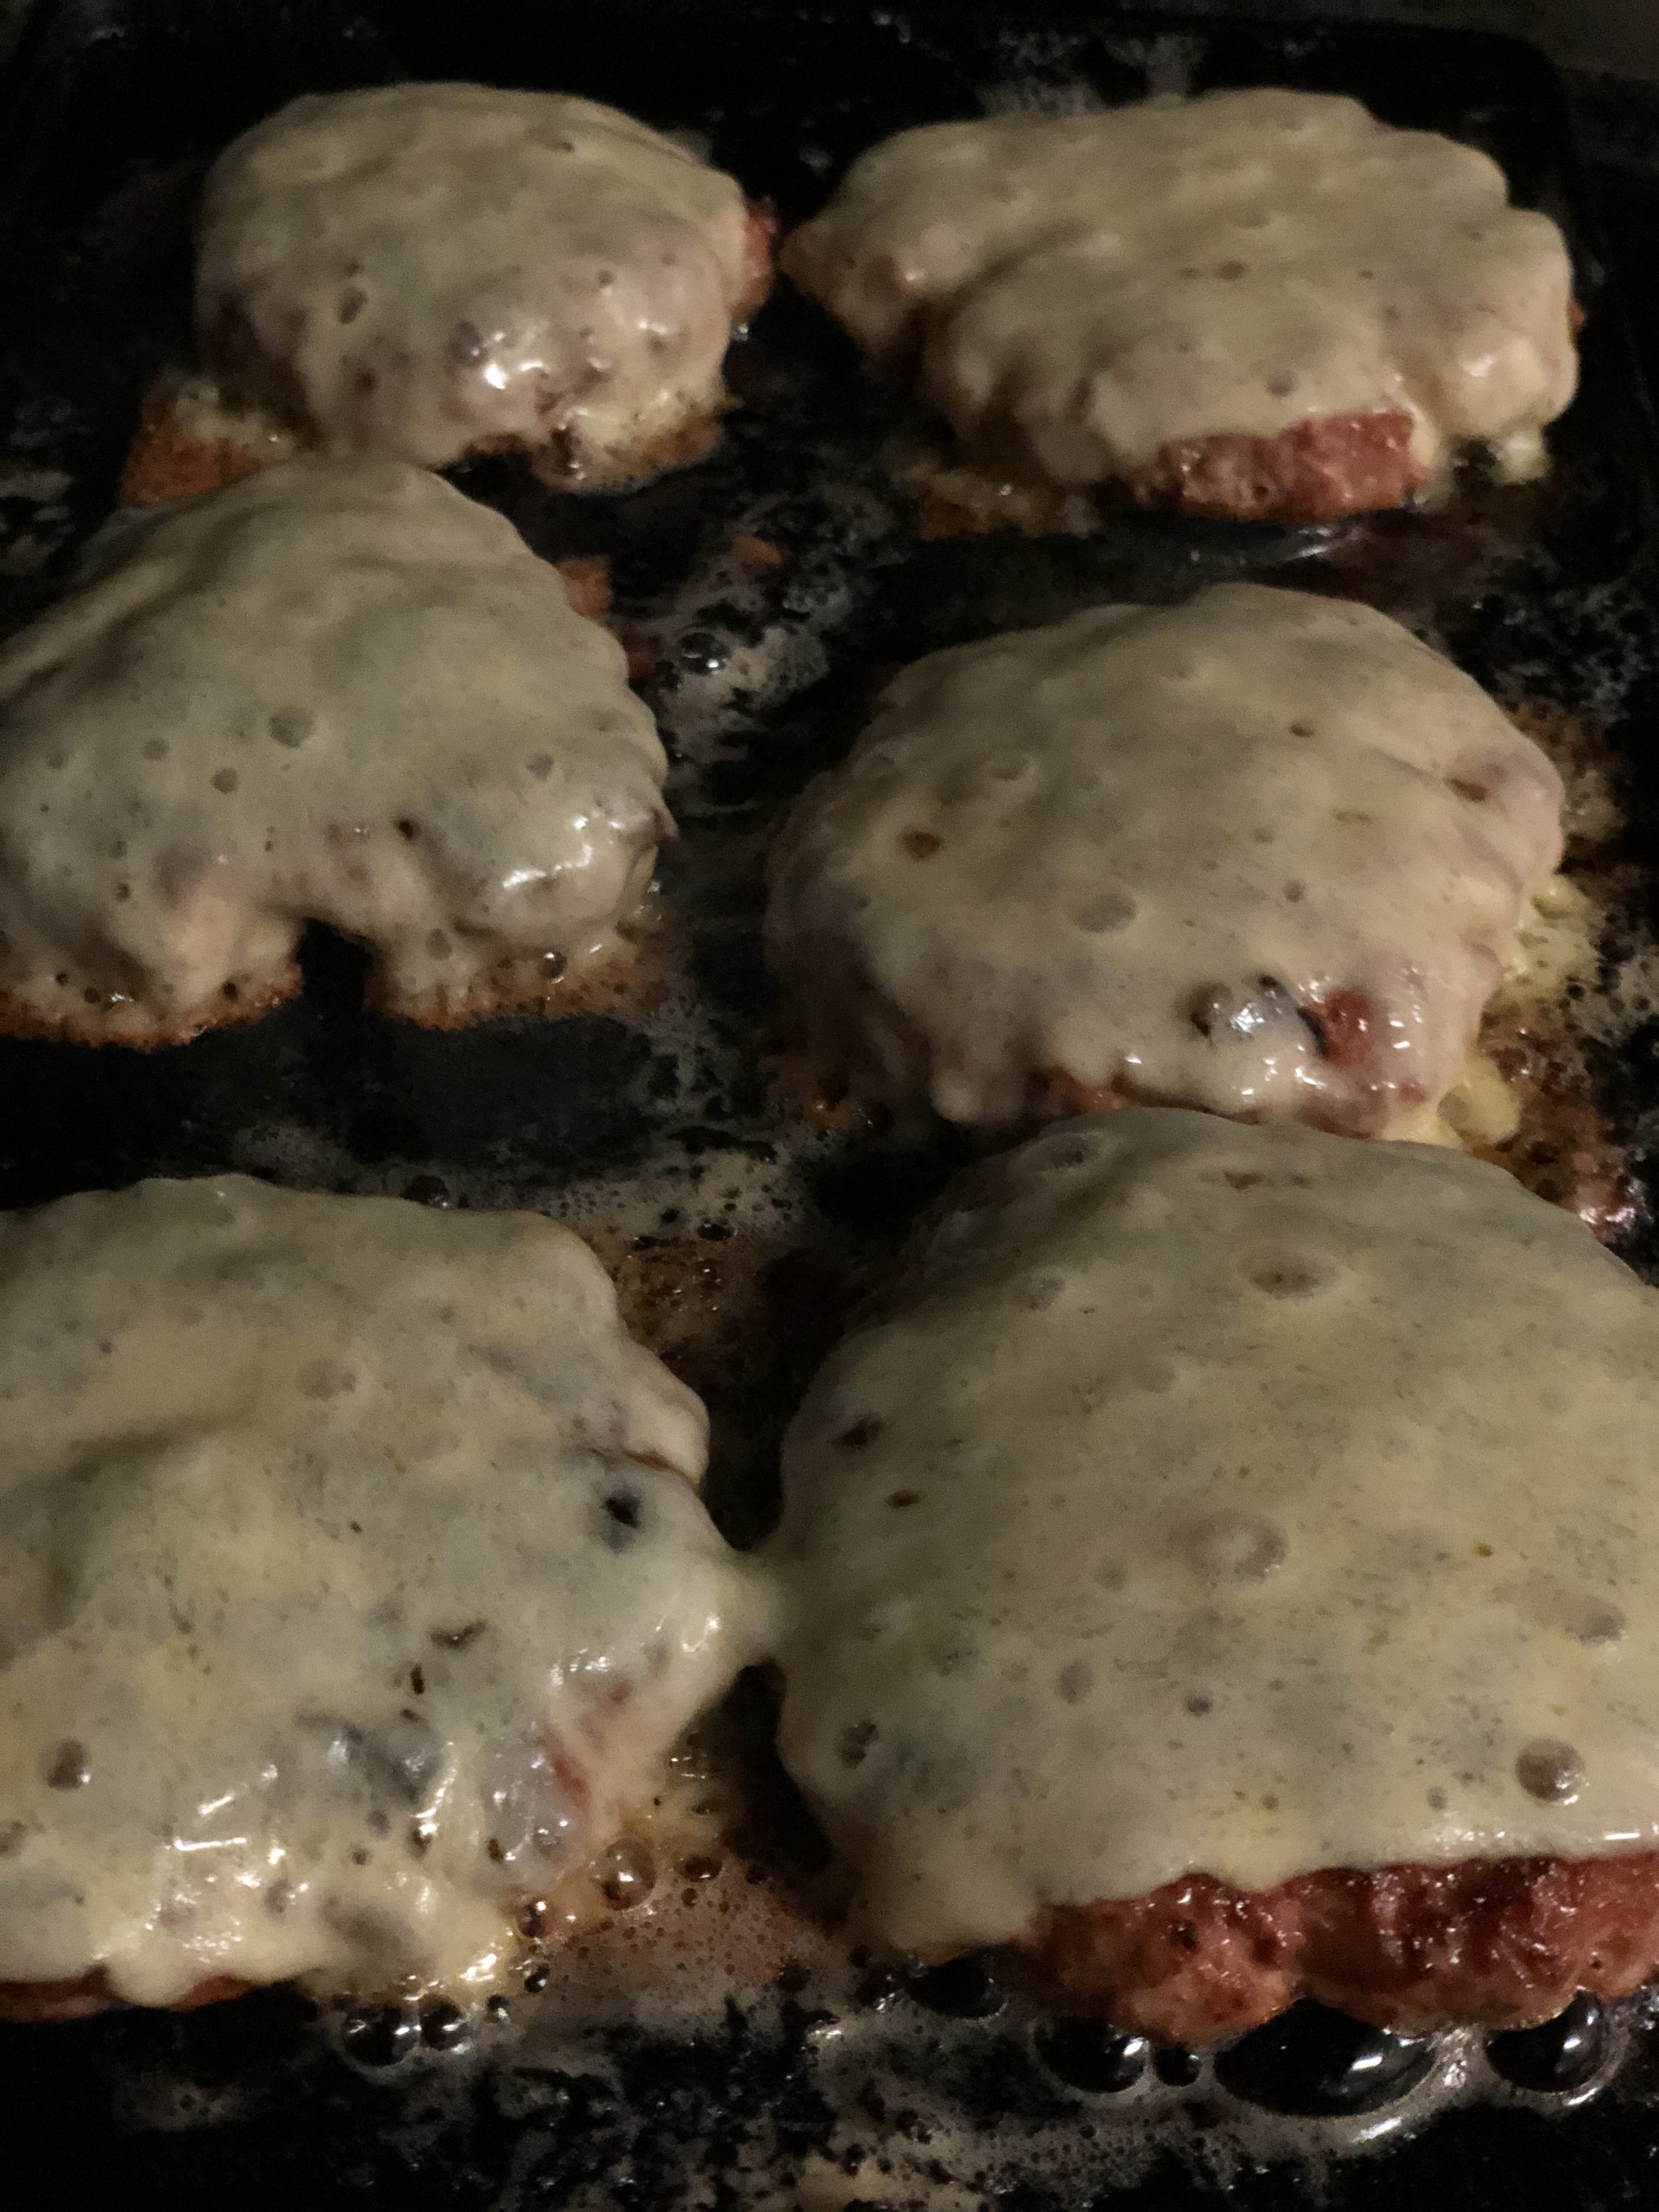
- Add the cheese slices.
- Cook duration is dependent on a number of factors but somewhere around 3 mins each side should be close. As always check for doneness with a temperature probe. It is recommended for store-bought mince to cook to at least 71C (160f).
- Remove and assemble the burgers.
Results
A super tasty burger that even the kids enjoyed. The caramelisation achieved really adds to the flavour profile. Combined with a super fresh bread roll and fresh tomato and beetroot
What I would do differently
Each cook gives you the opportunity to reflect and identify areas to improve on this cook I would make the following changes for the next attempt.
- would like to try substituting the pork mince with lamb mince. I think the additional strong rich flavour from the lamb would be awesome.
- definitely reduce the size of the burger, letting me achieve a thinner smashed burger
- aim to get a ½ moon cast iron plate, better sized vs my current setup.