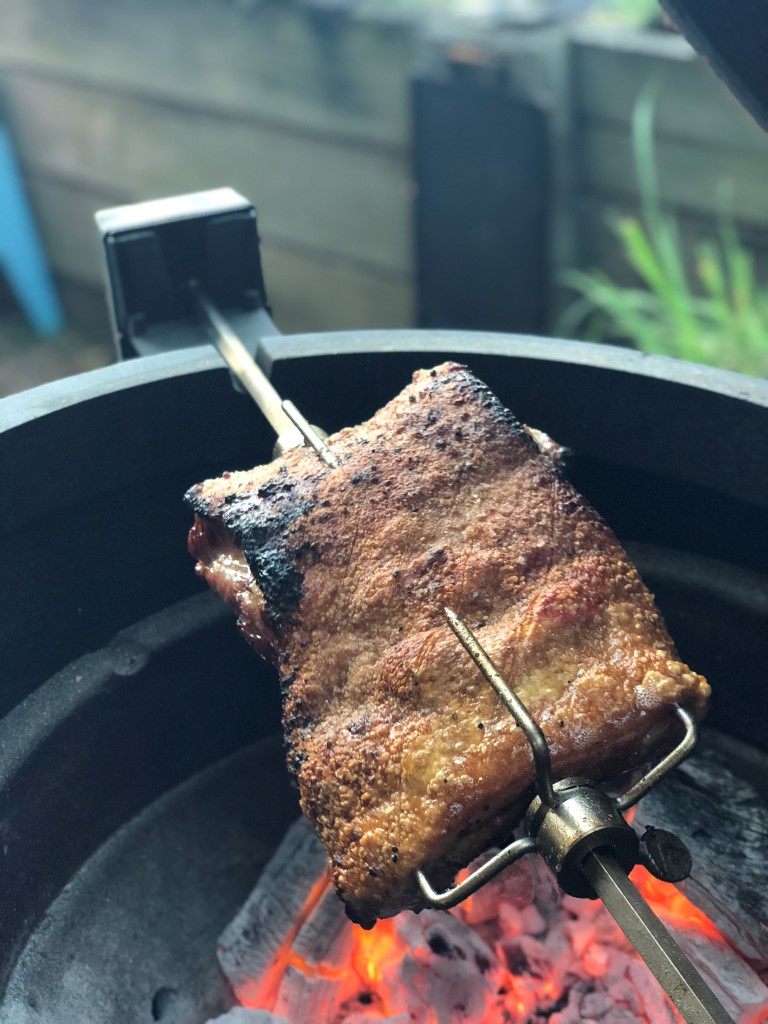
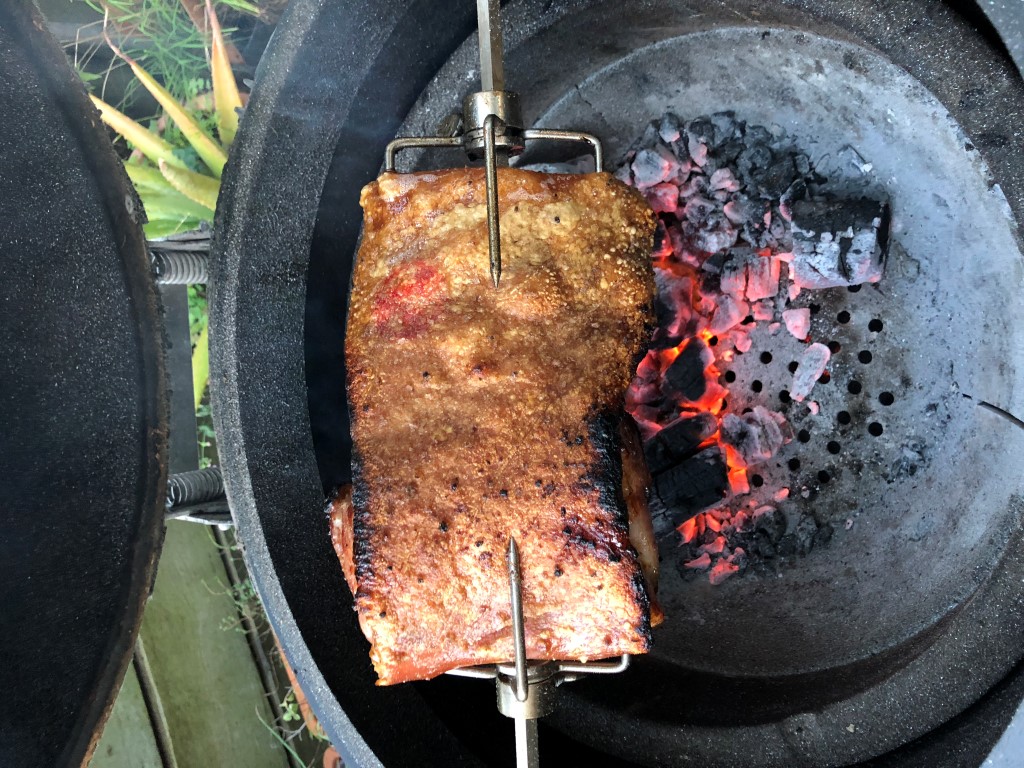
Joetisserie Pork Belly

Who doesn’t love pork crackling? With this method it is almost guaranteed to be the best crackle you have had. Once you try this joetisserie pork belly, I doubt you will cook it any other way. 

Inspiration

This one was inspired by Glen from “Glen’s Aussie BBQ Facebook” page. His youtube video of his method is below. Be sure to subscribe to his youtube channel as well. Lots of great kamado recipes.

Now I have done pork belly before and have struggled with getting the crackling to perfection, sometimes I have done OK, but never perfect. With this method, I nailed it !!

Happy days. This is certainly my go to method to cook pork belly.

Kamado Setup

We are setting up for a Joetisserie cook and aiming for a dome temperature of around 200C [392F].

From previous experience, fire management is critical in getting the Joetisserie cook done right. I bank the charcoal up against the rear of the kamado and in this instance lit it in 3 places with starter cubes.

I have found that getting the kamado to stabilise at your desired temperature is even more important when using the Joetisserie attachment. I also find that my vent positions are totally different (more open) then when cooking without it.

Time and Temps

  • From the first lighting to temperature stability was around 45 minutes
  • Total time from starting the Joetisserie to taking it off was 1hr 34minutes.
  • Dome Temp settled in at around the 200C [392F] mark

Method

The key to crackle is ensuring the skin is DRY and even when you think it is dry, dry it some more!

With this particular method, we start the process the day before the cook.

Day 1 (prior to cook)

  • Line a baking tray with foil.
  • Add a decent amount of your prefered dry rub on the bottom of the tray
  • Remove your pork belly from the packaging, rinse with water and pat dry with paper towel.
  • Place the pork belly on the tray skin side up (on top of the rub coating)
  • Apply a liberal amount of salt on the skin side of the pork belly.
  • Place into the fridge – uncovered.

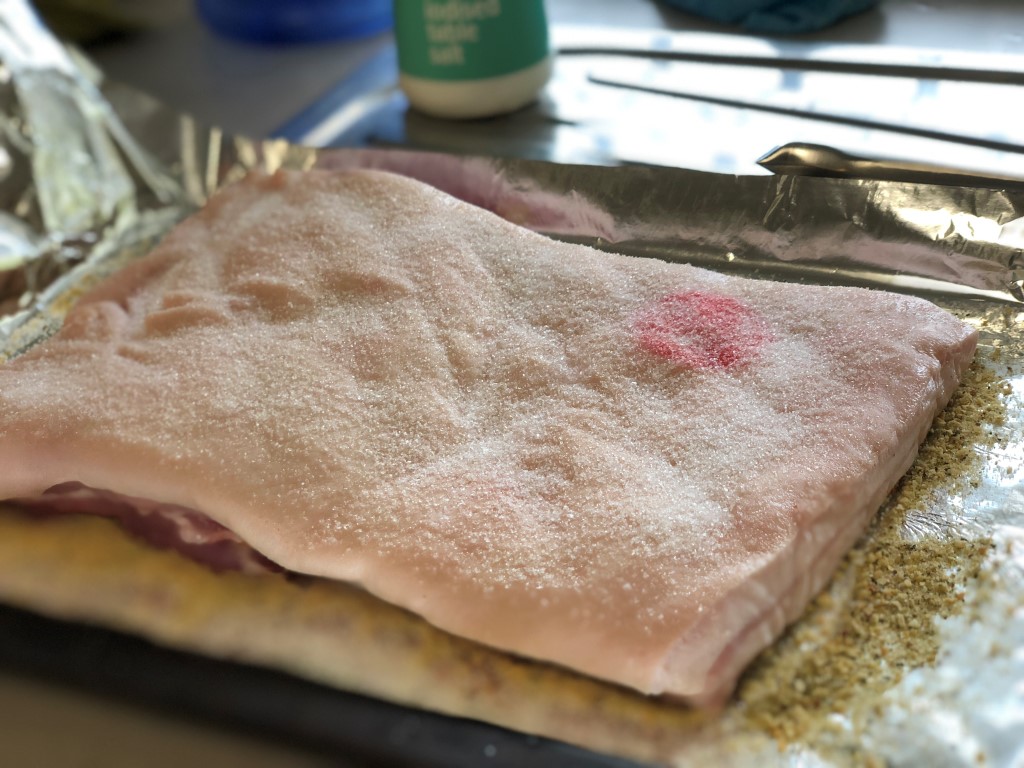
Day 2 (day of the cook)

  • At around 6 hrs prior to cooking
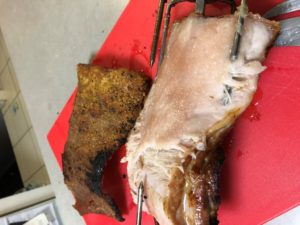
  • You will find that there will some moisture on the skin.
  • Wipe the skin dry with paper towel and re-apply some more salt.
  • Back into the fridge

Just prior to cooking

  • Pat dry and wipe off the salt
  • Thread the Joetisserie spike through the pork belly and secure each end.
  • Apply a little bit of oil (Olive or vegetable) skin side and add salt
Pork belly on the Kamado Joe joetisserie

Onto the heat

  • Add the Joetisserie to the Kamado (should be holding at around 200C [392F] )and start spinning.
  • At around the 35-minute mark, check the crackle (in my instance it was around 45 minutes)
  • If the crackle is done to your liking carefully take the Joetisserie rod off the kamado and place onto a bench or chopping board
  • Remove the crackle – be very careful everything is HOT.
  • But do not remove the pork belly from the Joetisserie spike.
  • Once the skin (Crackle) is removed add a sprinkling of your favourite rub to the “fat” side and place back into the kamado for around another 30 minutes.
  • This is just to ensure that the fat has fully rendered, leaving you a deliciously juicy tender pork belly. The way I test is just to probe it with a temperature probe, looking to ensure that the feel of the meat is smooth and with little resistance.
  • Remove from the Kamado, remove the pork belly cover and rest. I normally wrap in foil while preparing the rest of the meal.
Pork belly on the Kamado Joe joetisserie

Result

Outstanding!

The crackling was perfect, super crunchy, nice and salty (without being too salty)

The meat was super moist, with the fat well rendered.

An unexpected bonus of this method was the underside. As we placed the belly into the fridge for a day or so on top of some dry rub, this formed an incredible “bark” which was just an incredible flavour bomb.

This pork belly was an 11/10 !!