The maiden voyage of the Joetisserie
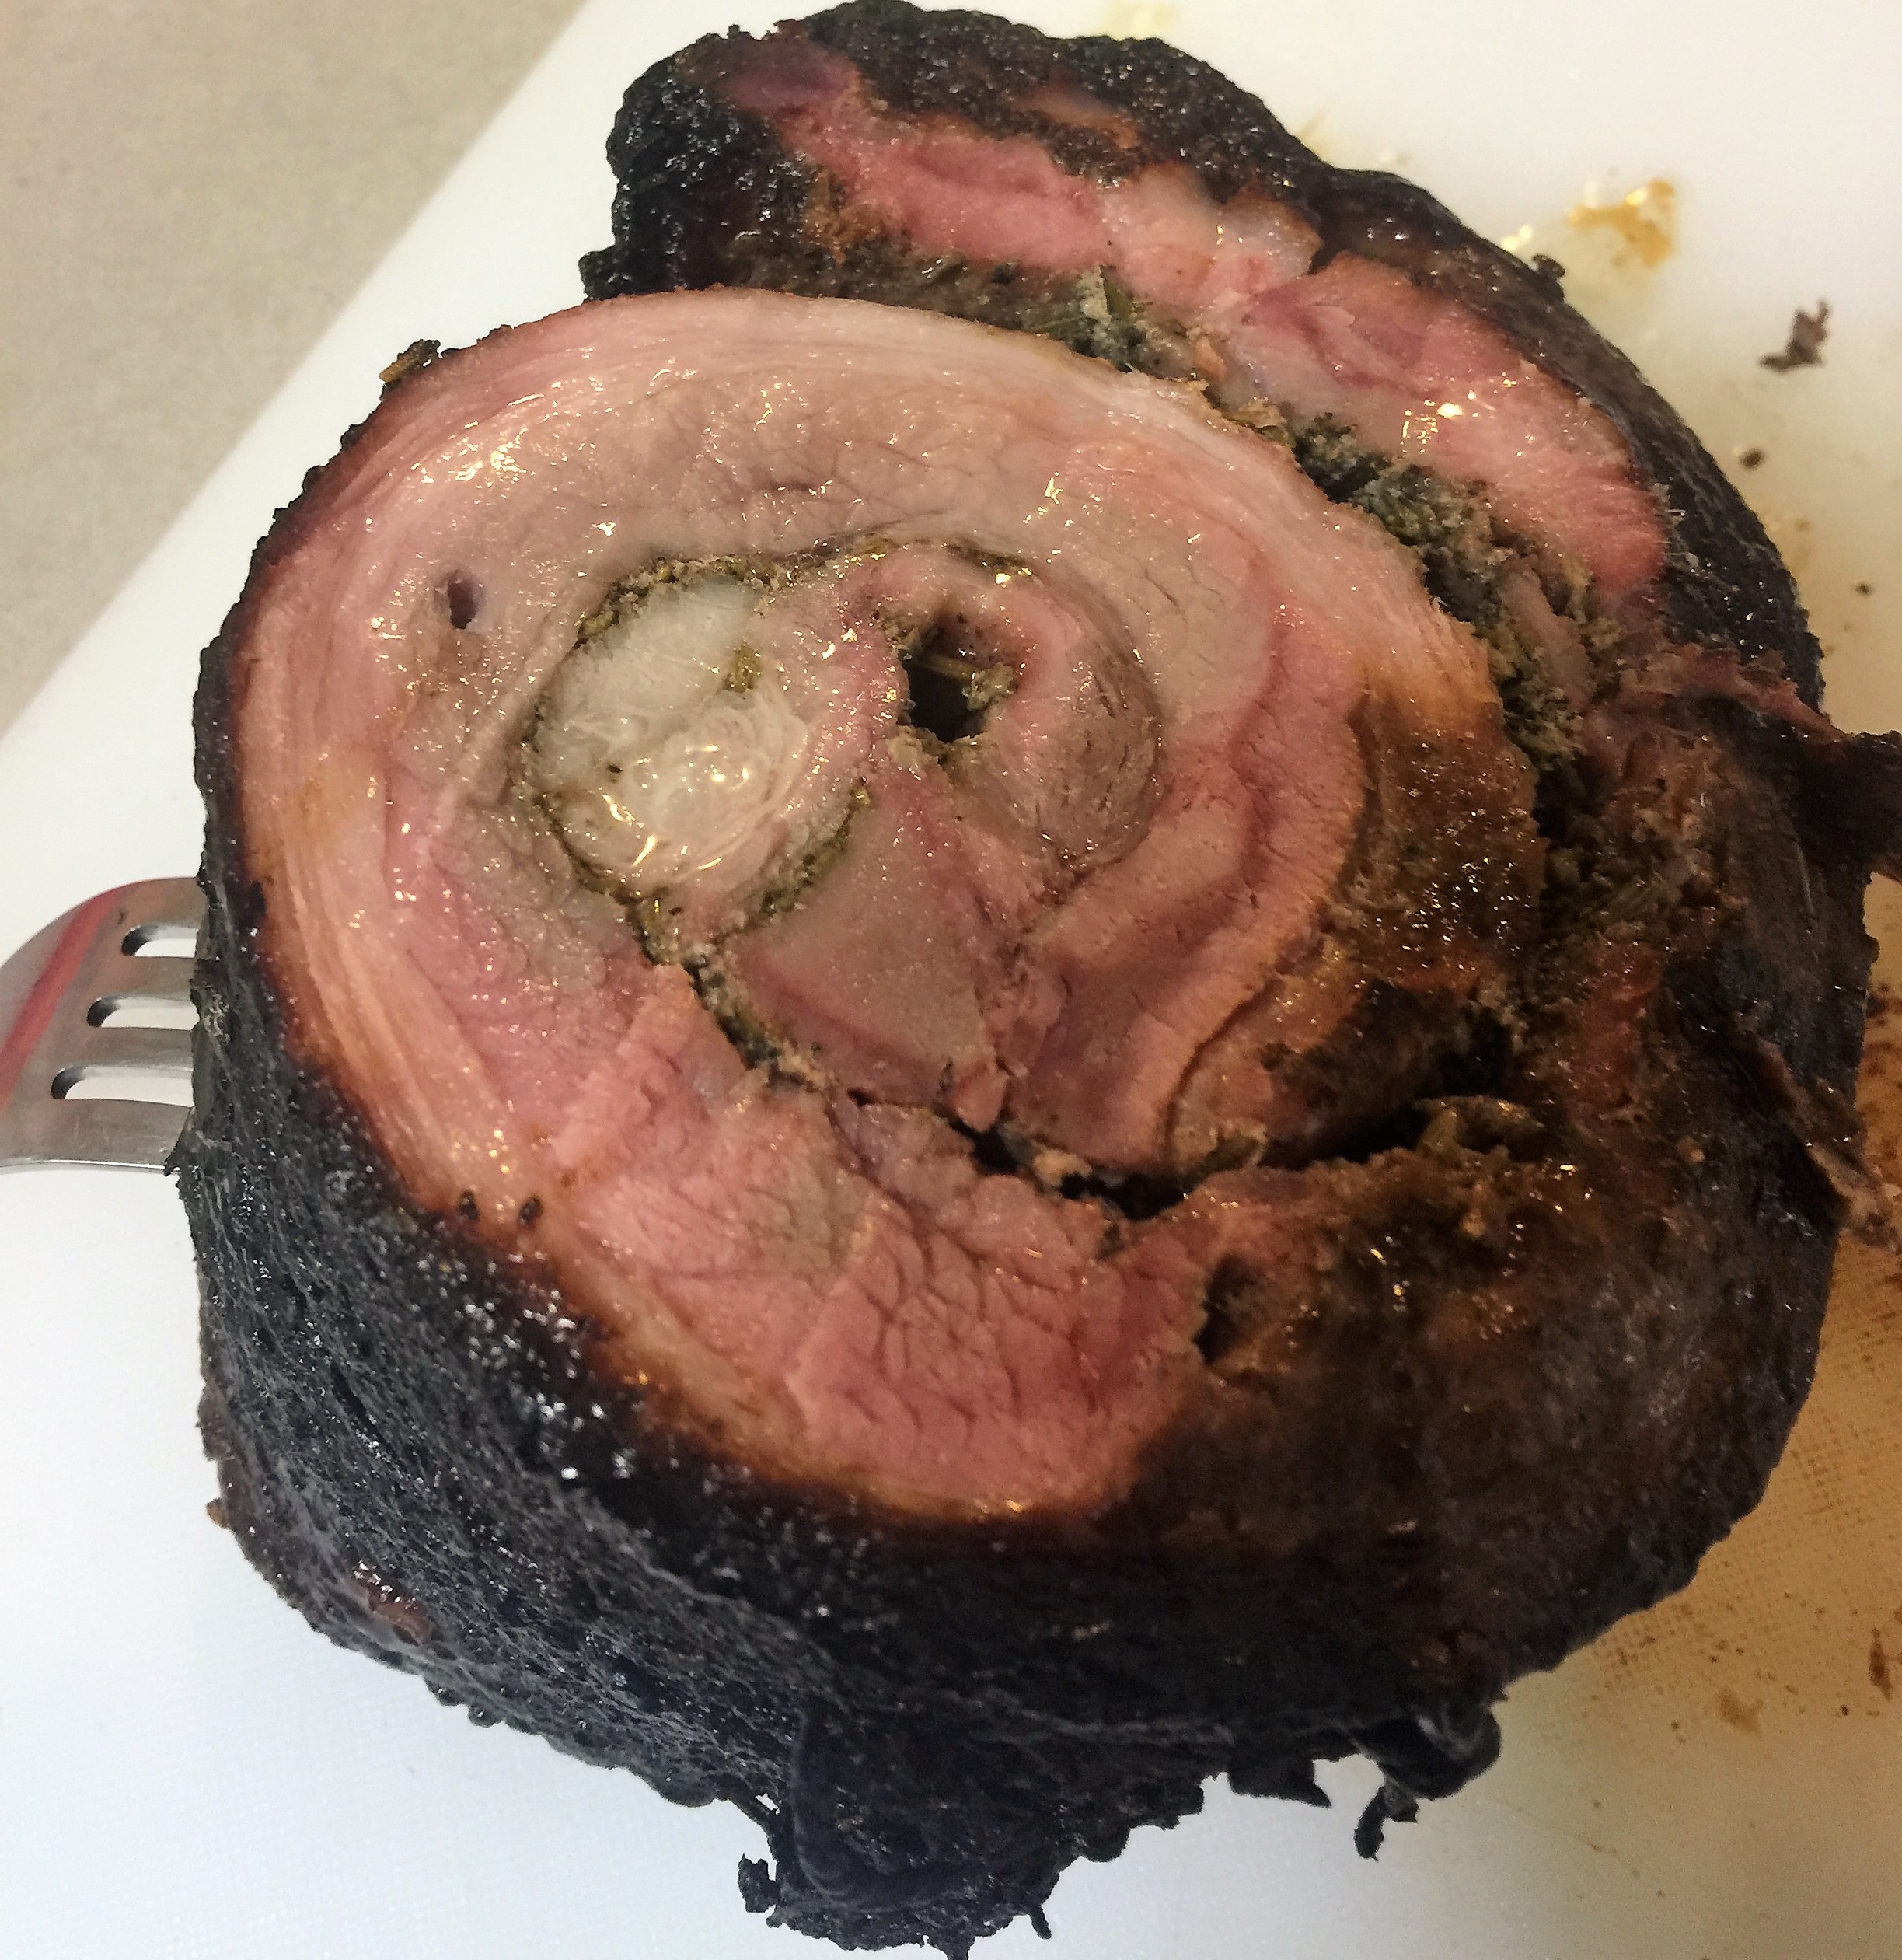
Thanks to Peter over at Capalaba Fresh Meat & Poultry I found the perfect accompaniment to the Joetisserie. An awesome looking porchetta and a pork knuckle. The porchetta was a no-brainer for the Joetisserie, nice round form, easy to mount on the Joetisserie. The knuckle, on the other hand, I was a little less confident about but decided to give it a go. What is the worst that could happen right? Both cuts looked super fresh and I really hoped to do them justice.
Earlier in the week my wife had all but demanded a roast on the weekend as I had hinted that I was likely to seek out a Kamado Joe Joetisserie. Well, she got her way, who am I to deny my lovely wife what she desires – happy wife happy life. Plus cooking on the Kamado is certainly not a chore, it is my happy place and a reason to have a beer or two.
Without any experience with the Joetisserie, I was going on instinct and gut feel as to the time needed and temperatures etc. I have watched a number of instructional videos but never got to remember the finer details as I always get distracted by the awesome food that seems to come off of the Joetisserie.
Fire
I was planning to start a smallish fire along the back wall of the Joe with an aim of a dome temp ~ 200 deg C. In hindsight I think my final fire was too large (physical size). I think that the better option would be to have a smaller fuel load but open up the air vents more. I added a chunk of cherry wood and ironbark as well as a handful of hickory chips. Again in hindsight I would do this differently next cook – less smoke wood, or even no smoke wood and let the Joetisserie and charcoal work their magic.
Meat Prep
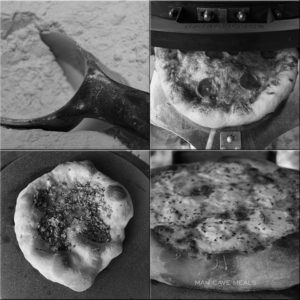
Meat prep was pretty simple for the porchetta, other than unwrapping – no additional prep needed. For the pork knuckle, my sole aim was to get some crackling! I was thinking just keep it simple. So I grabbed some paper towels, patted the skin dry, scored the skin, a little oil, and added some nice coarse ground Himalayan salt.
The needle
Time to thread onto the Joetisserie rod. This part was easy for the porchetta, and as expected the knuckle was a little more challenging, just trying to ensure the weight was reasonably balanced and finding sufficient penetration for the spikes so the meat did not rotate on the spike. I learnt from this one that I need to ensure that the meat is in the correct position, not necessarily the middle of the rod. When I took the rod out to the Kamado, the meat was too close to the side wall and I had to re-arrange.
Once the re-arrangement was done to centre the meat over the fire (rather than the rod) it was time for the maiden voyage. Everything in place to switch on! Perfect. After a couple of minutes, it was evident that it wasn’t quite balanced, but decided that it would be ok for this cook as it wasn’t too bad.
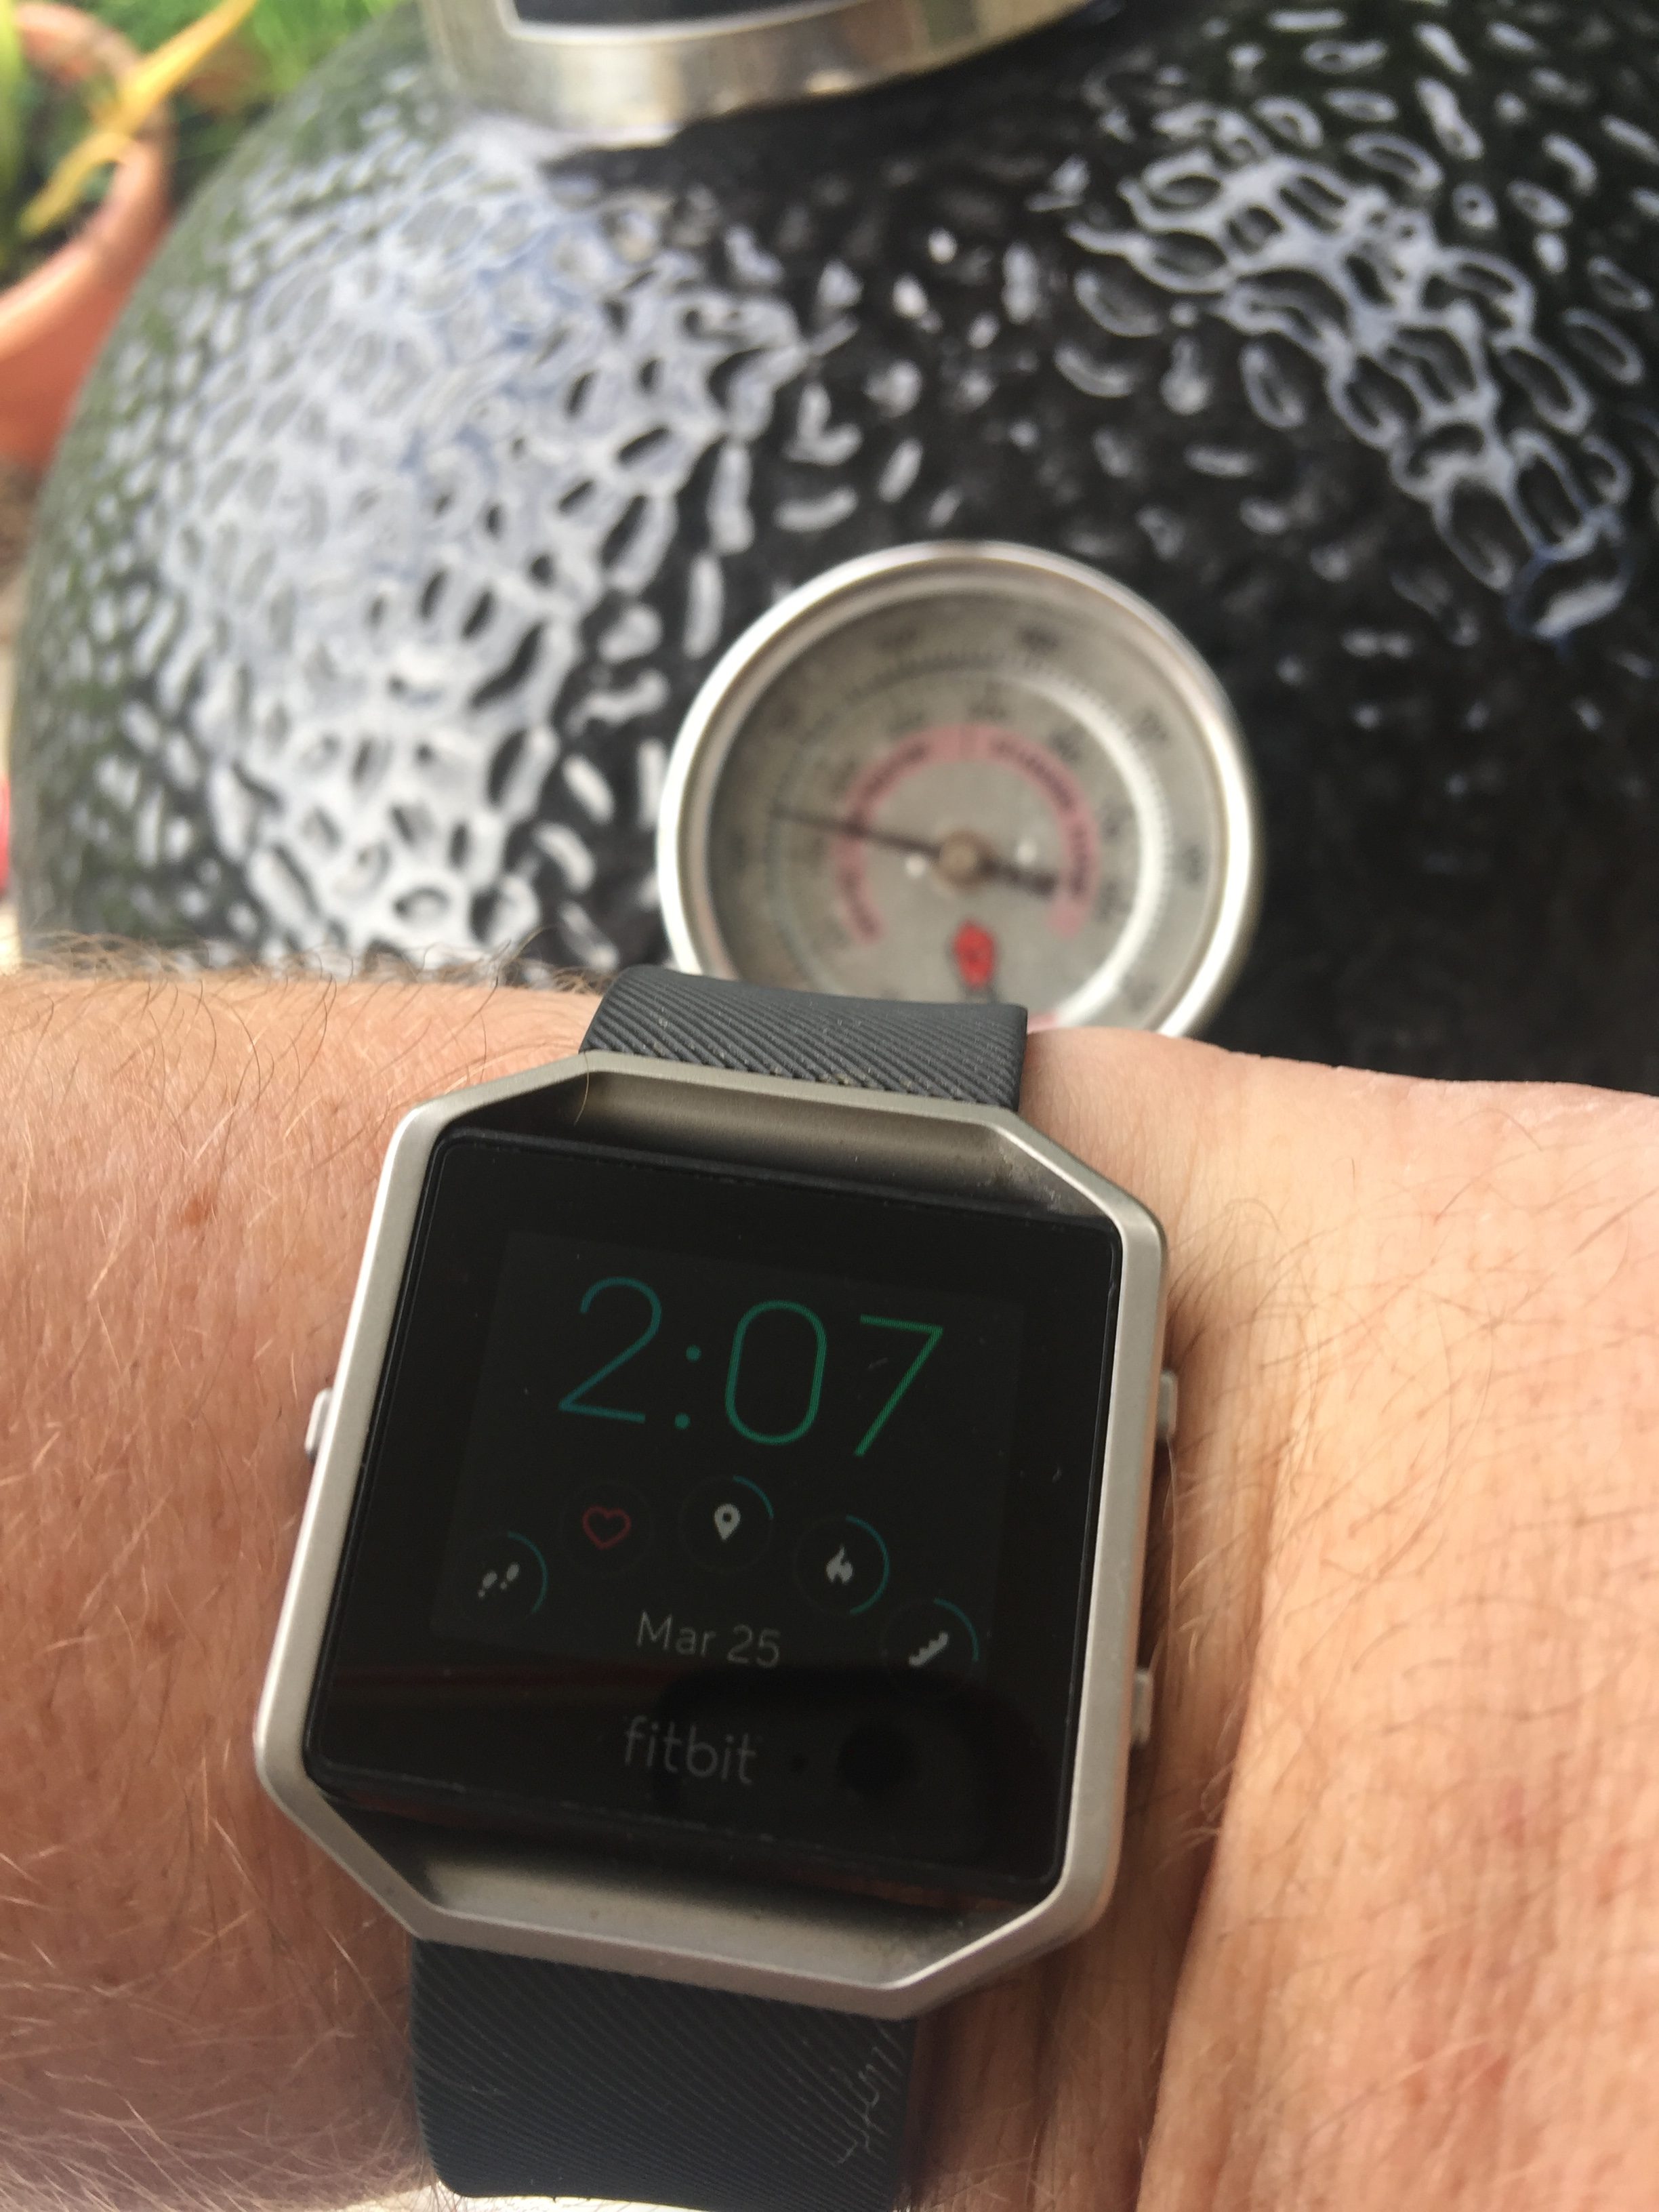
With the dome temp holding at around the 200 deg C mark it was now just a matter of time (or beers) until done.
Time to reflect
Unlike other cooks, there was a number of things that I did during the cook that I think with a little better preparation I could have resolved prior.
Fire size – definitely too large (physically). As there is no grill rack in during a Joetisserie cook, for the next attempt I will definitely err on the side of too small because you can add lump if needed.
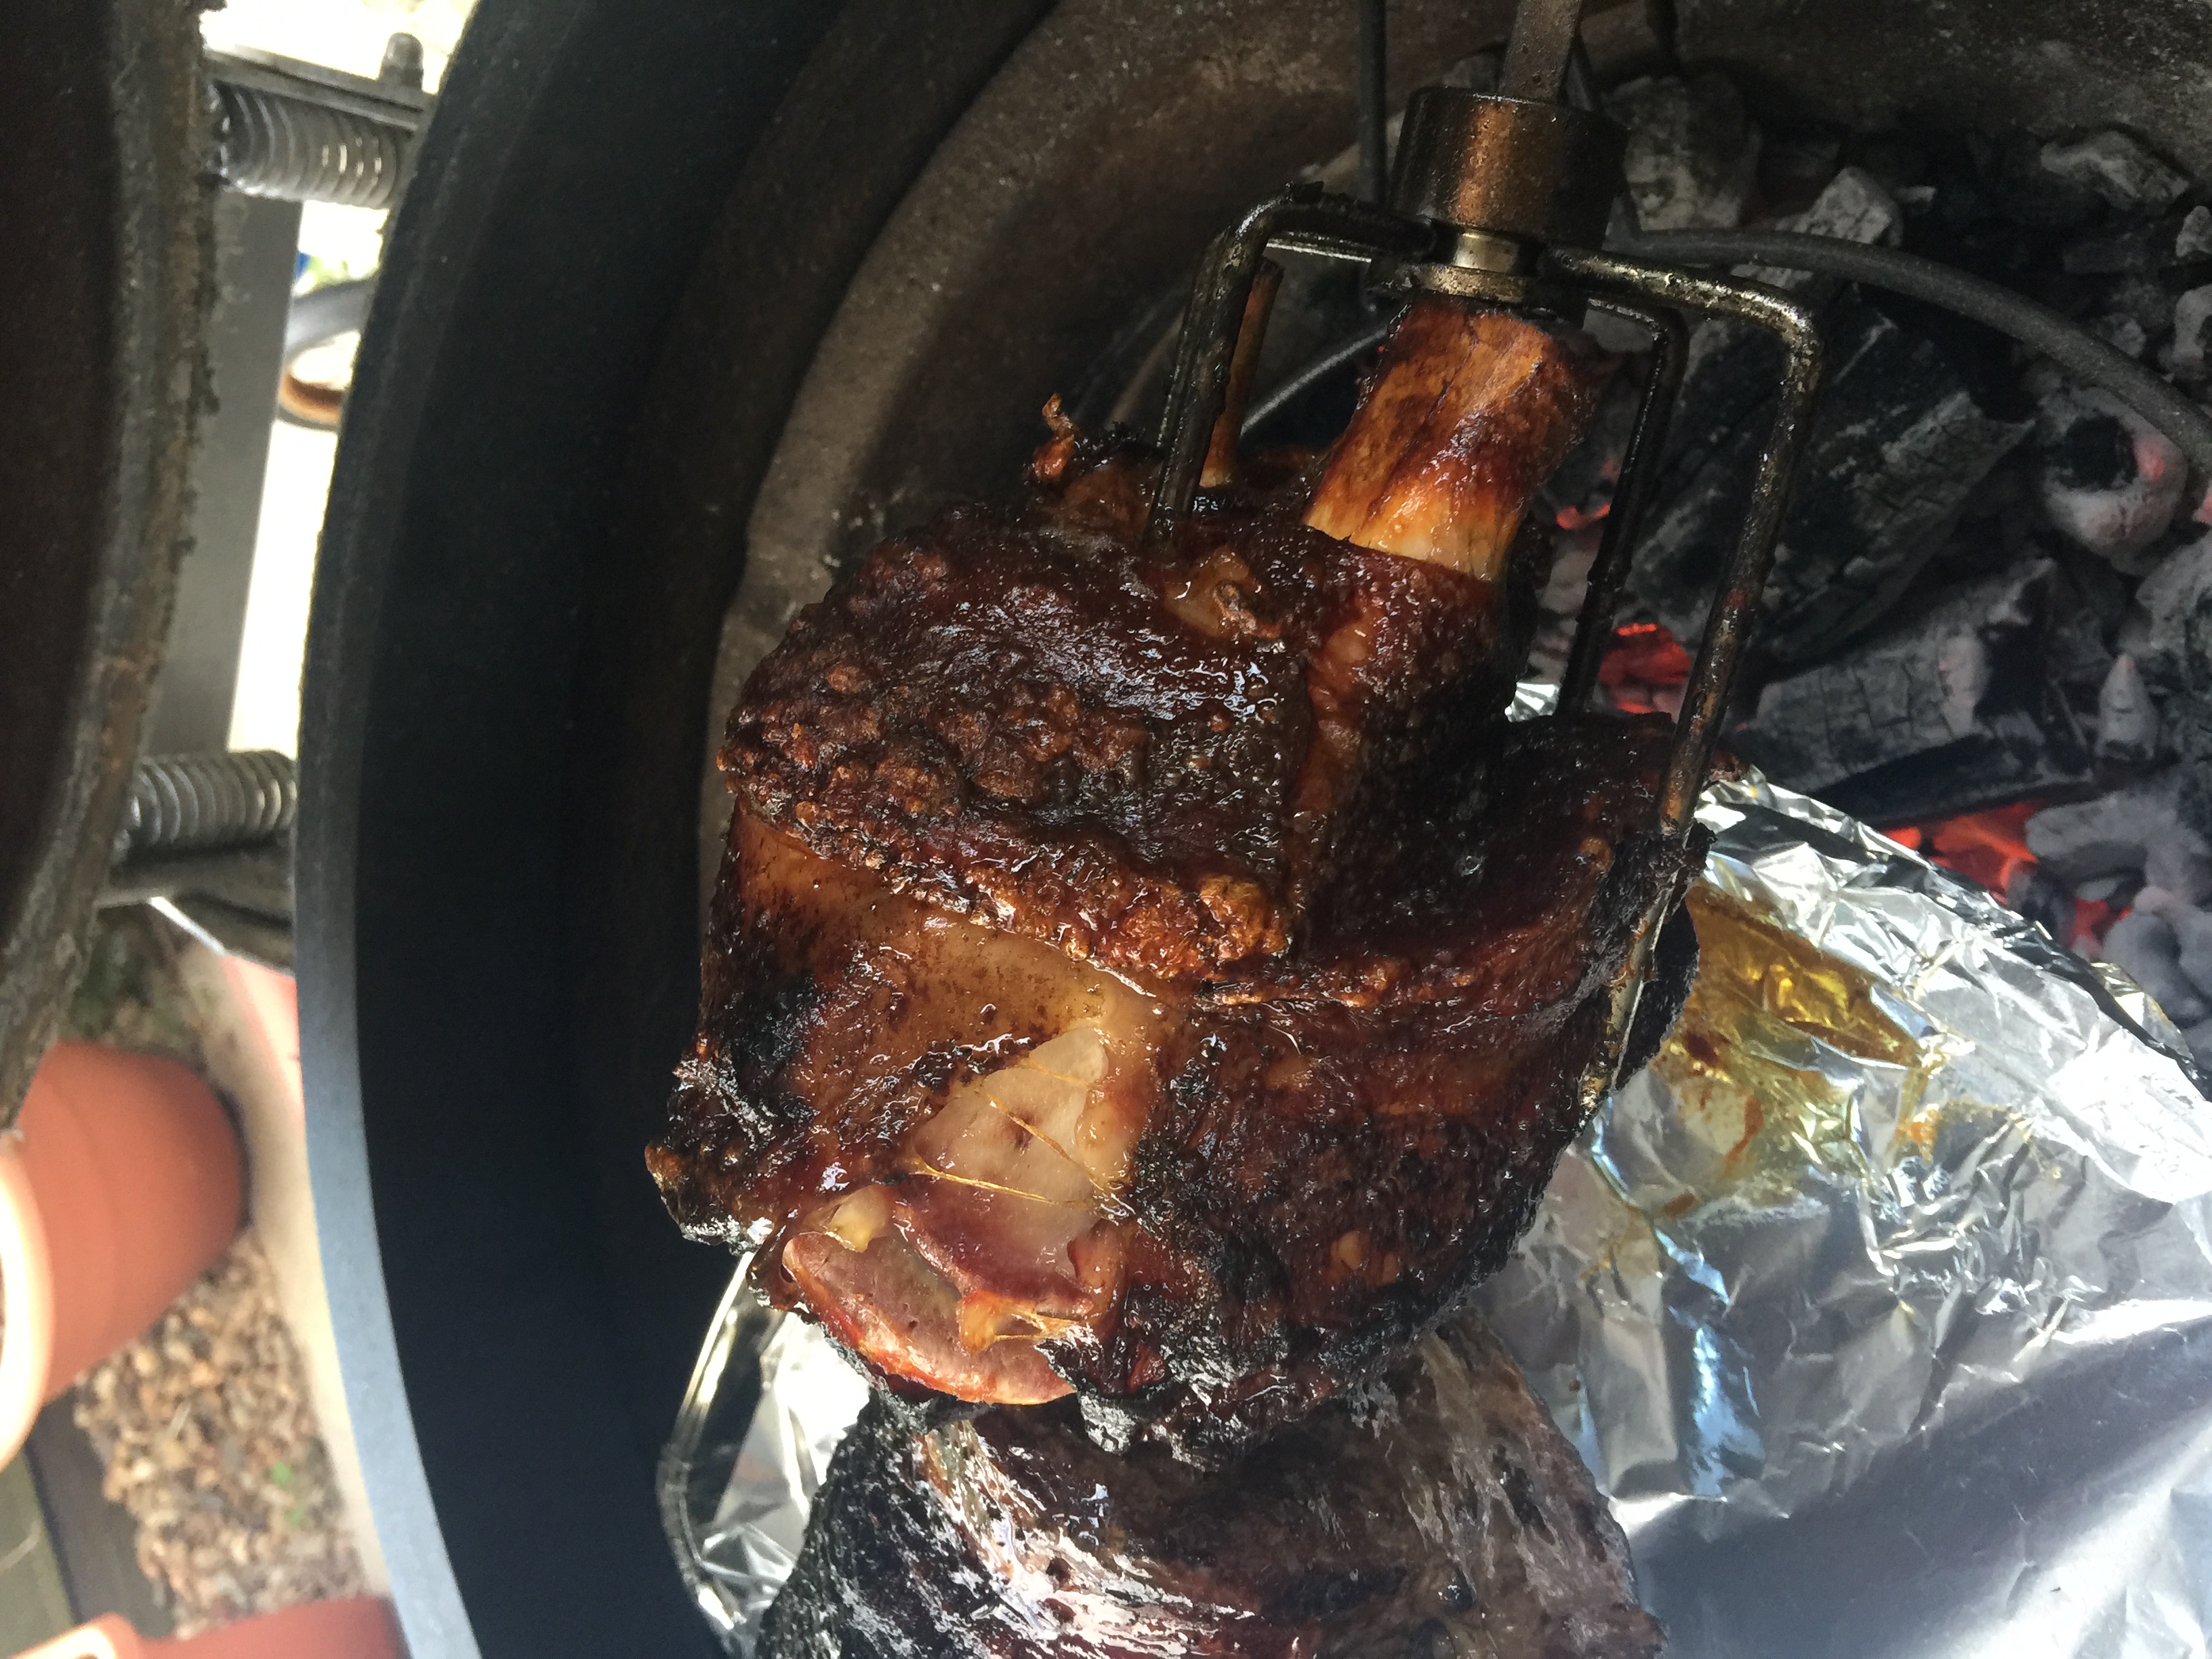
Fat Dripping – About 1hr in I noticed a lot of smoke that I wasn’t expecting. Upon investigation, it was a large amount of oil (rendered fat) dripping directly onto the charcoal, not something I wanted inside the Kamado. I think for a traditional open style rotisserie this would be OK. I was concerned that this smoke would ultimately be acrid and affect the taste of the meat. I added an aluminium drip tray to the Xrack. I had thought about doing veggies at some point and put the xrack on the firebox ring (didn’t end up roasting veggies.) Luckily I put this in before, as it would have been a challenge to do during the cook.
Meat slipping on the Rod – I notice that the out of balance “wobble” got worse during the cook and upon inspection, the spikes holding the knuckle had come completely out and moved to the end of the rod, obviously I hadn’t tightened the wing nut up enough and it had become loose. So it was gloves on and a quick fix and tighten everything up.
The elusive crackle.
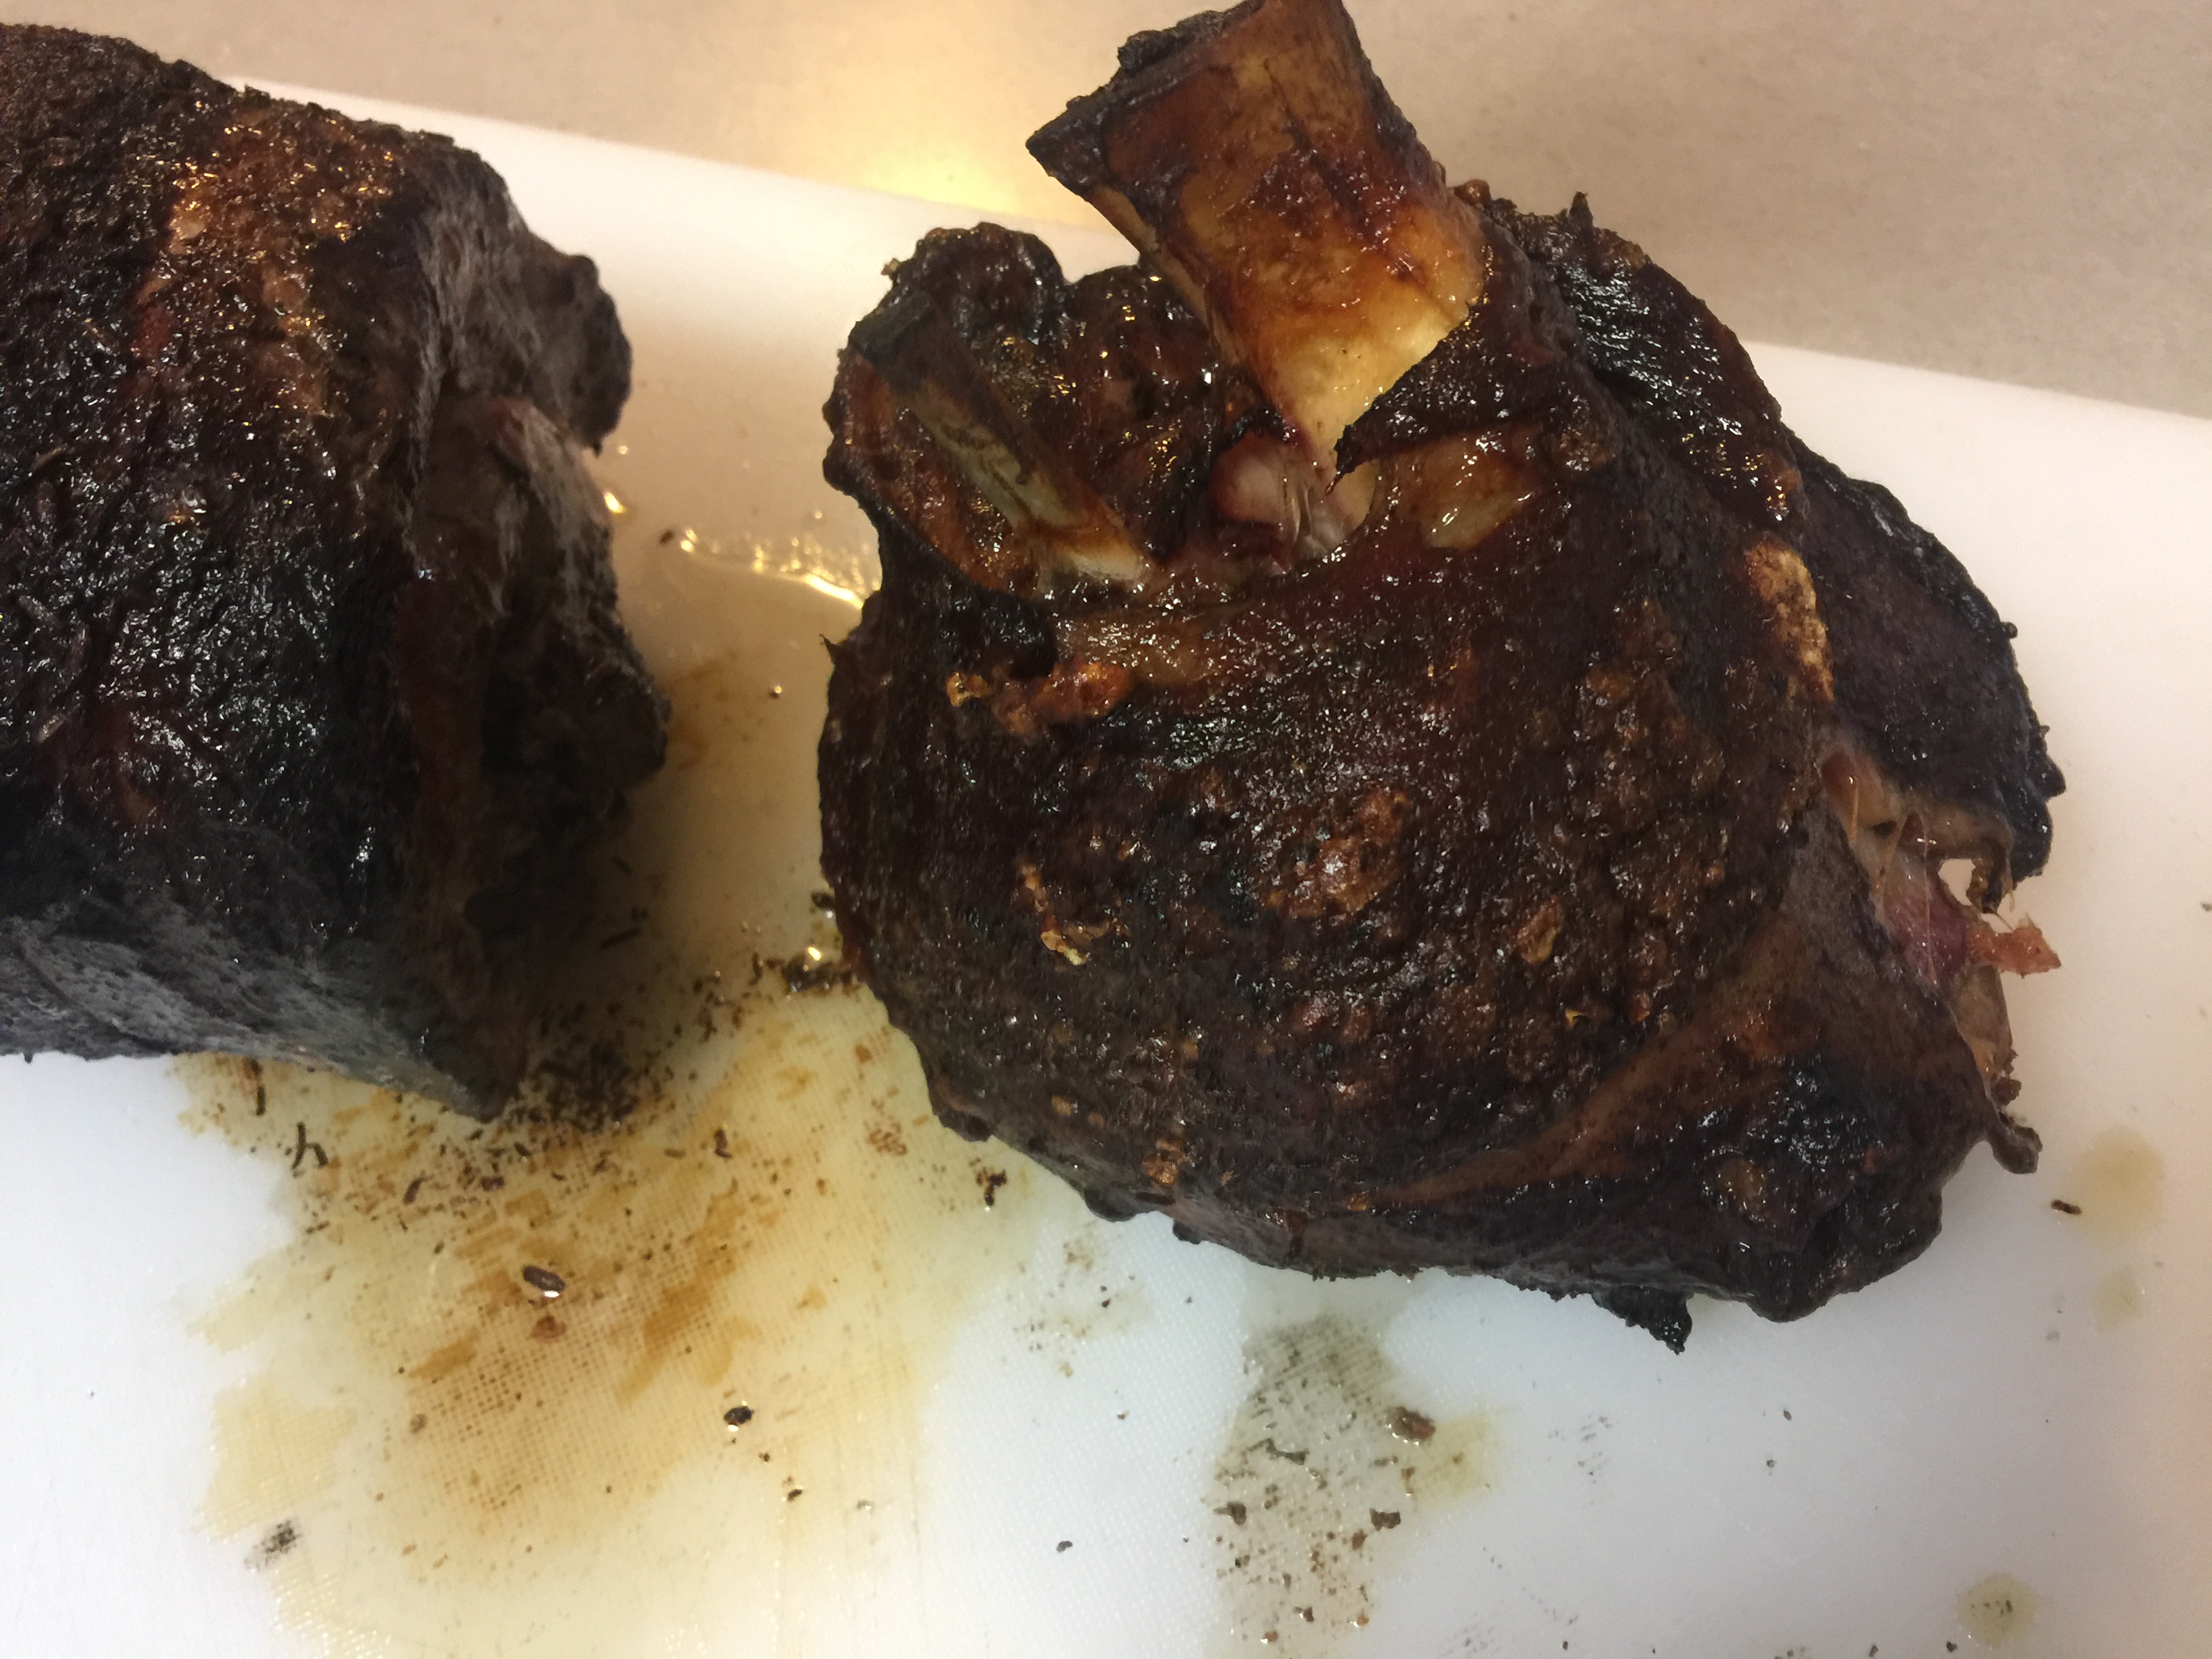
Although the end result was OK, I think I took the meat a little too far. I defiantly achieved a great crackle, but it was at the expense of being a touch overdone, but the amazing thing is that both cuts were still pretty moist. Kamado cookers are very forgiving.
To get the crackle for the last hour or so I opened the vents and let the temp build to 250+. During this part of the cook, I re-arranged the coals to concentrate the heat around the knuckle to really get the crackle going.
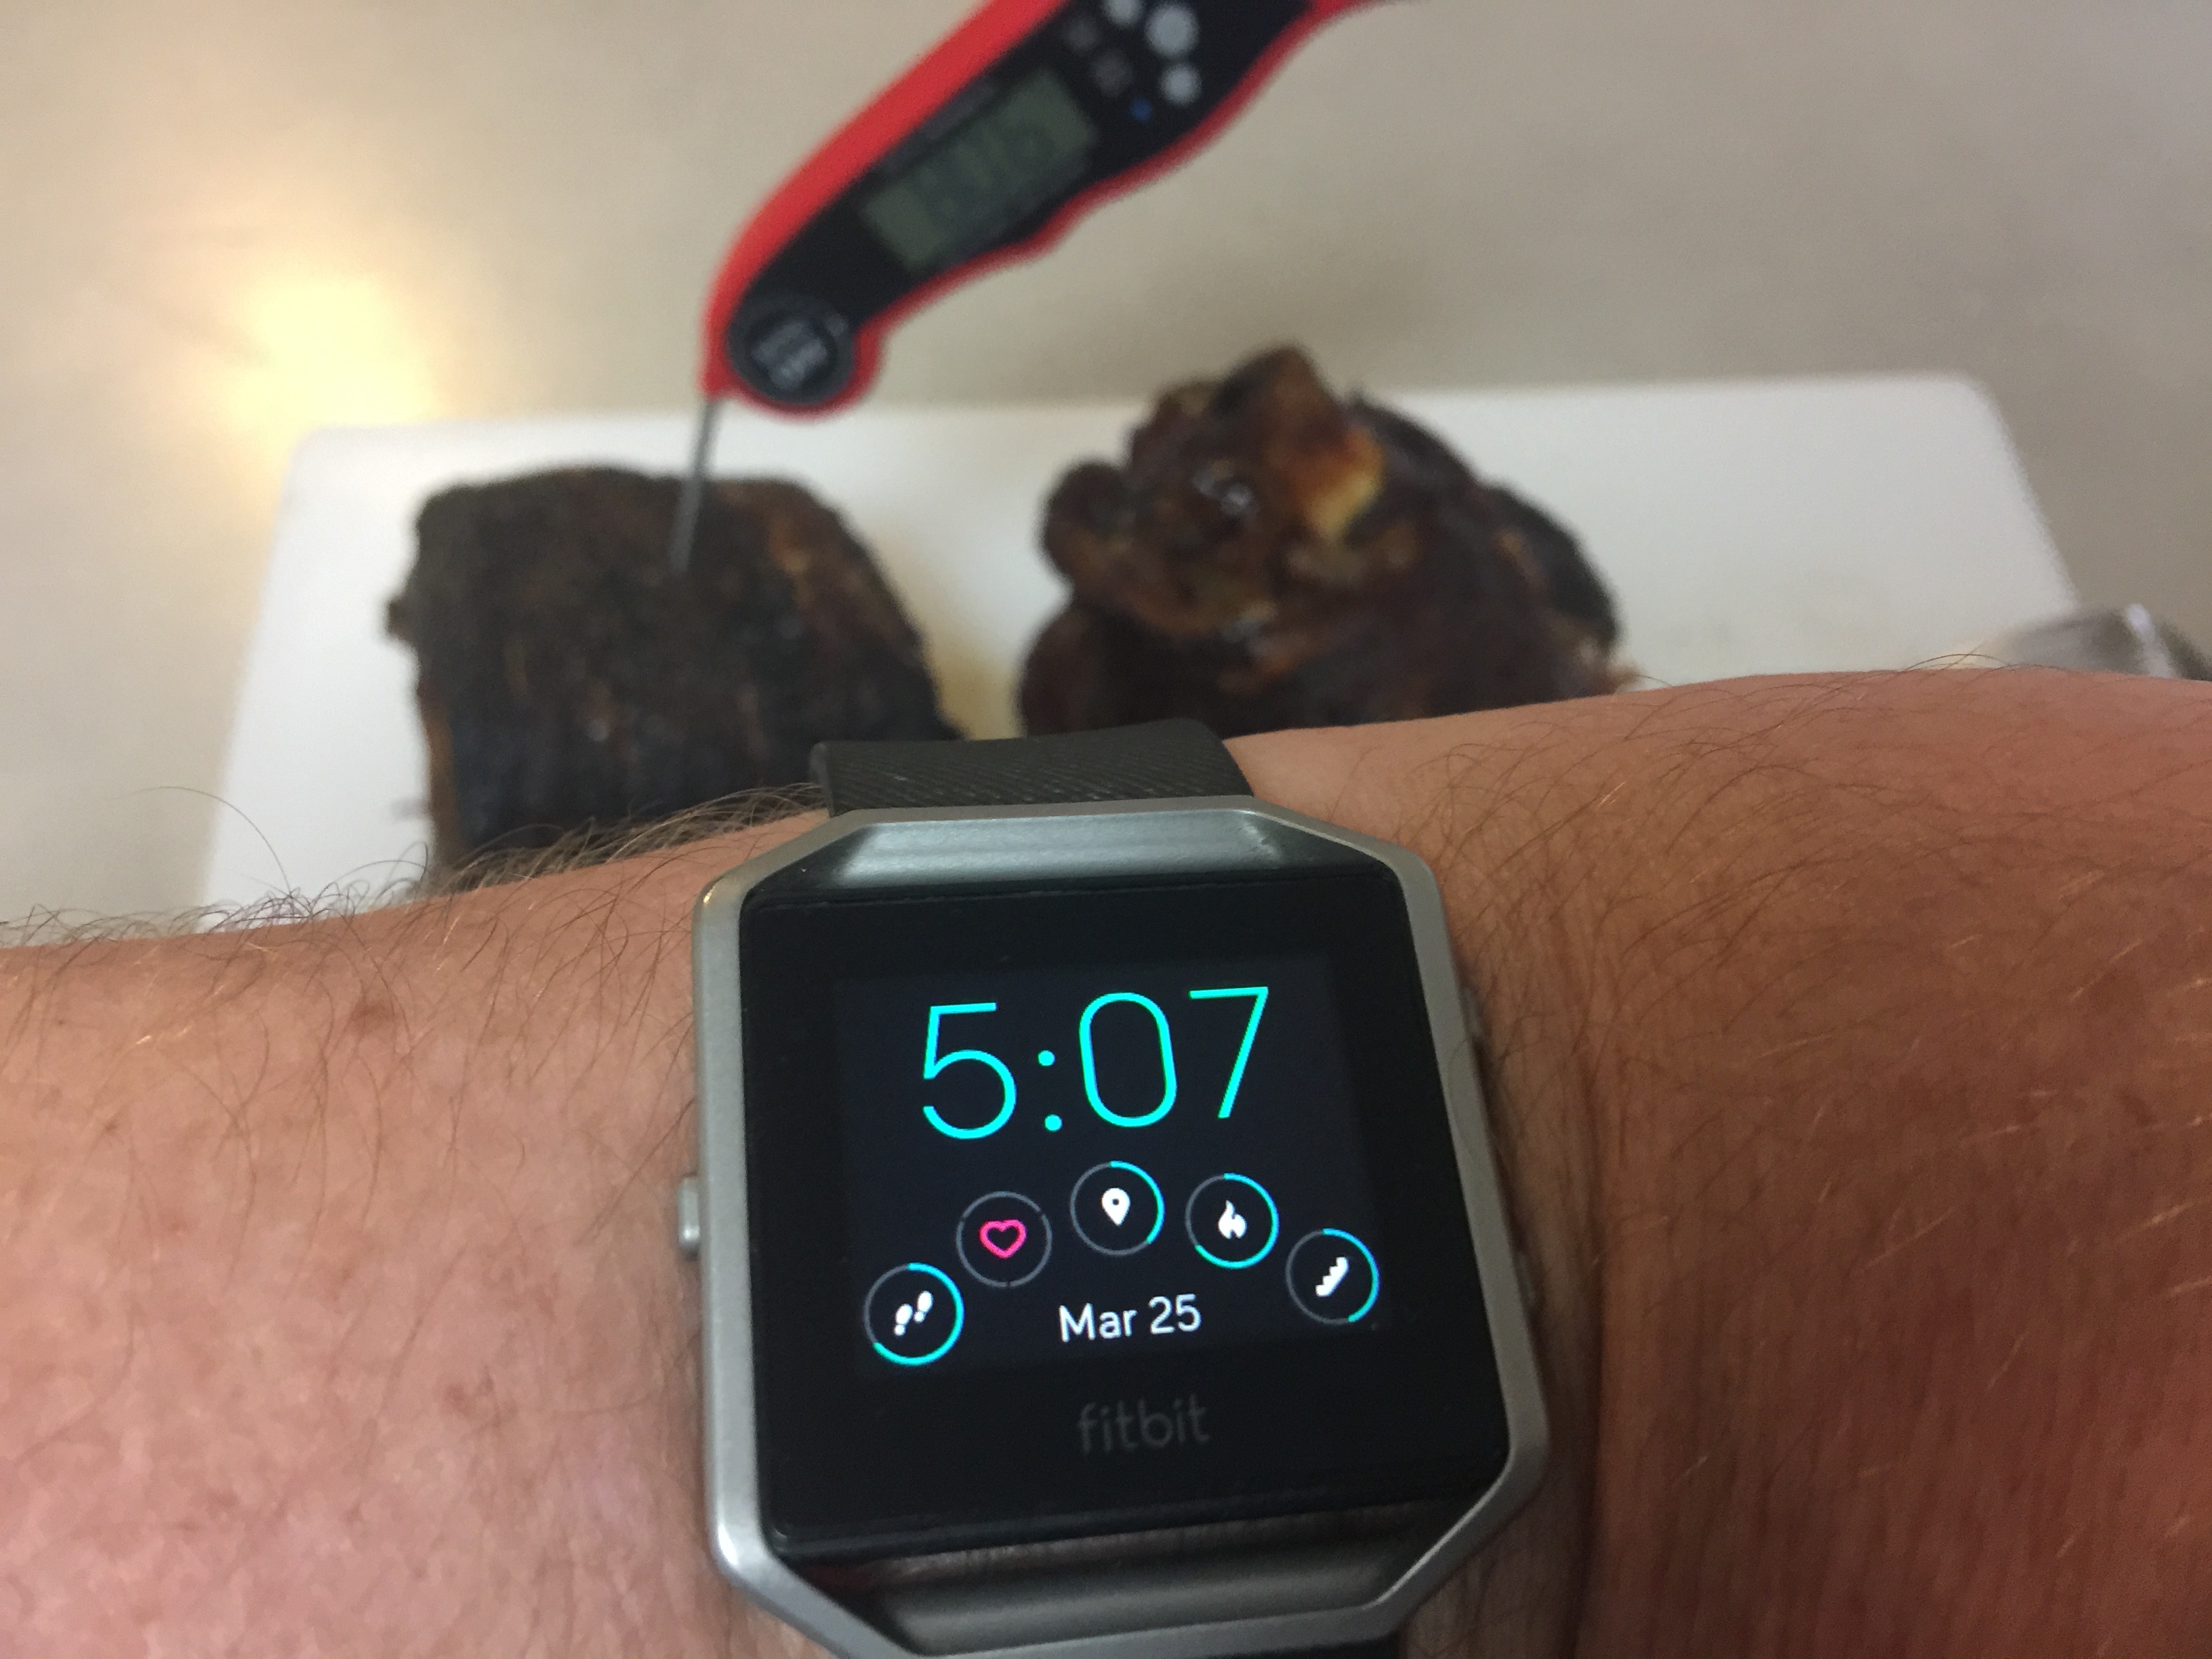
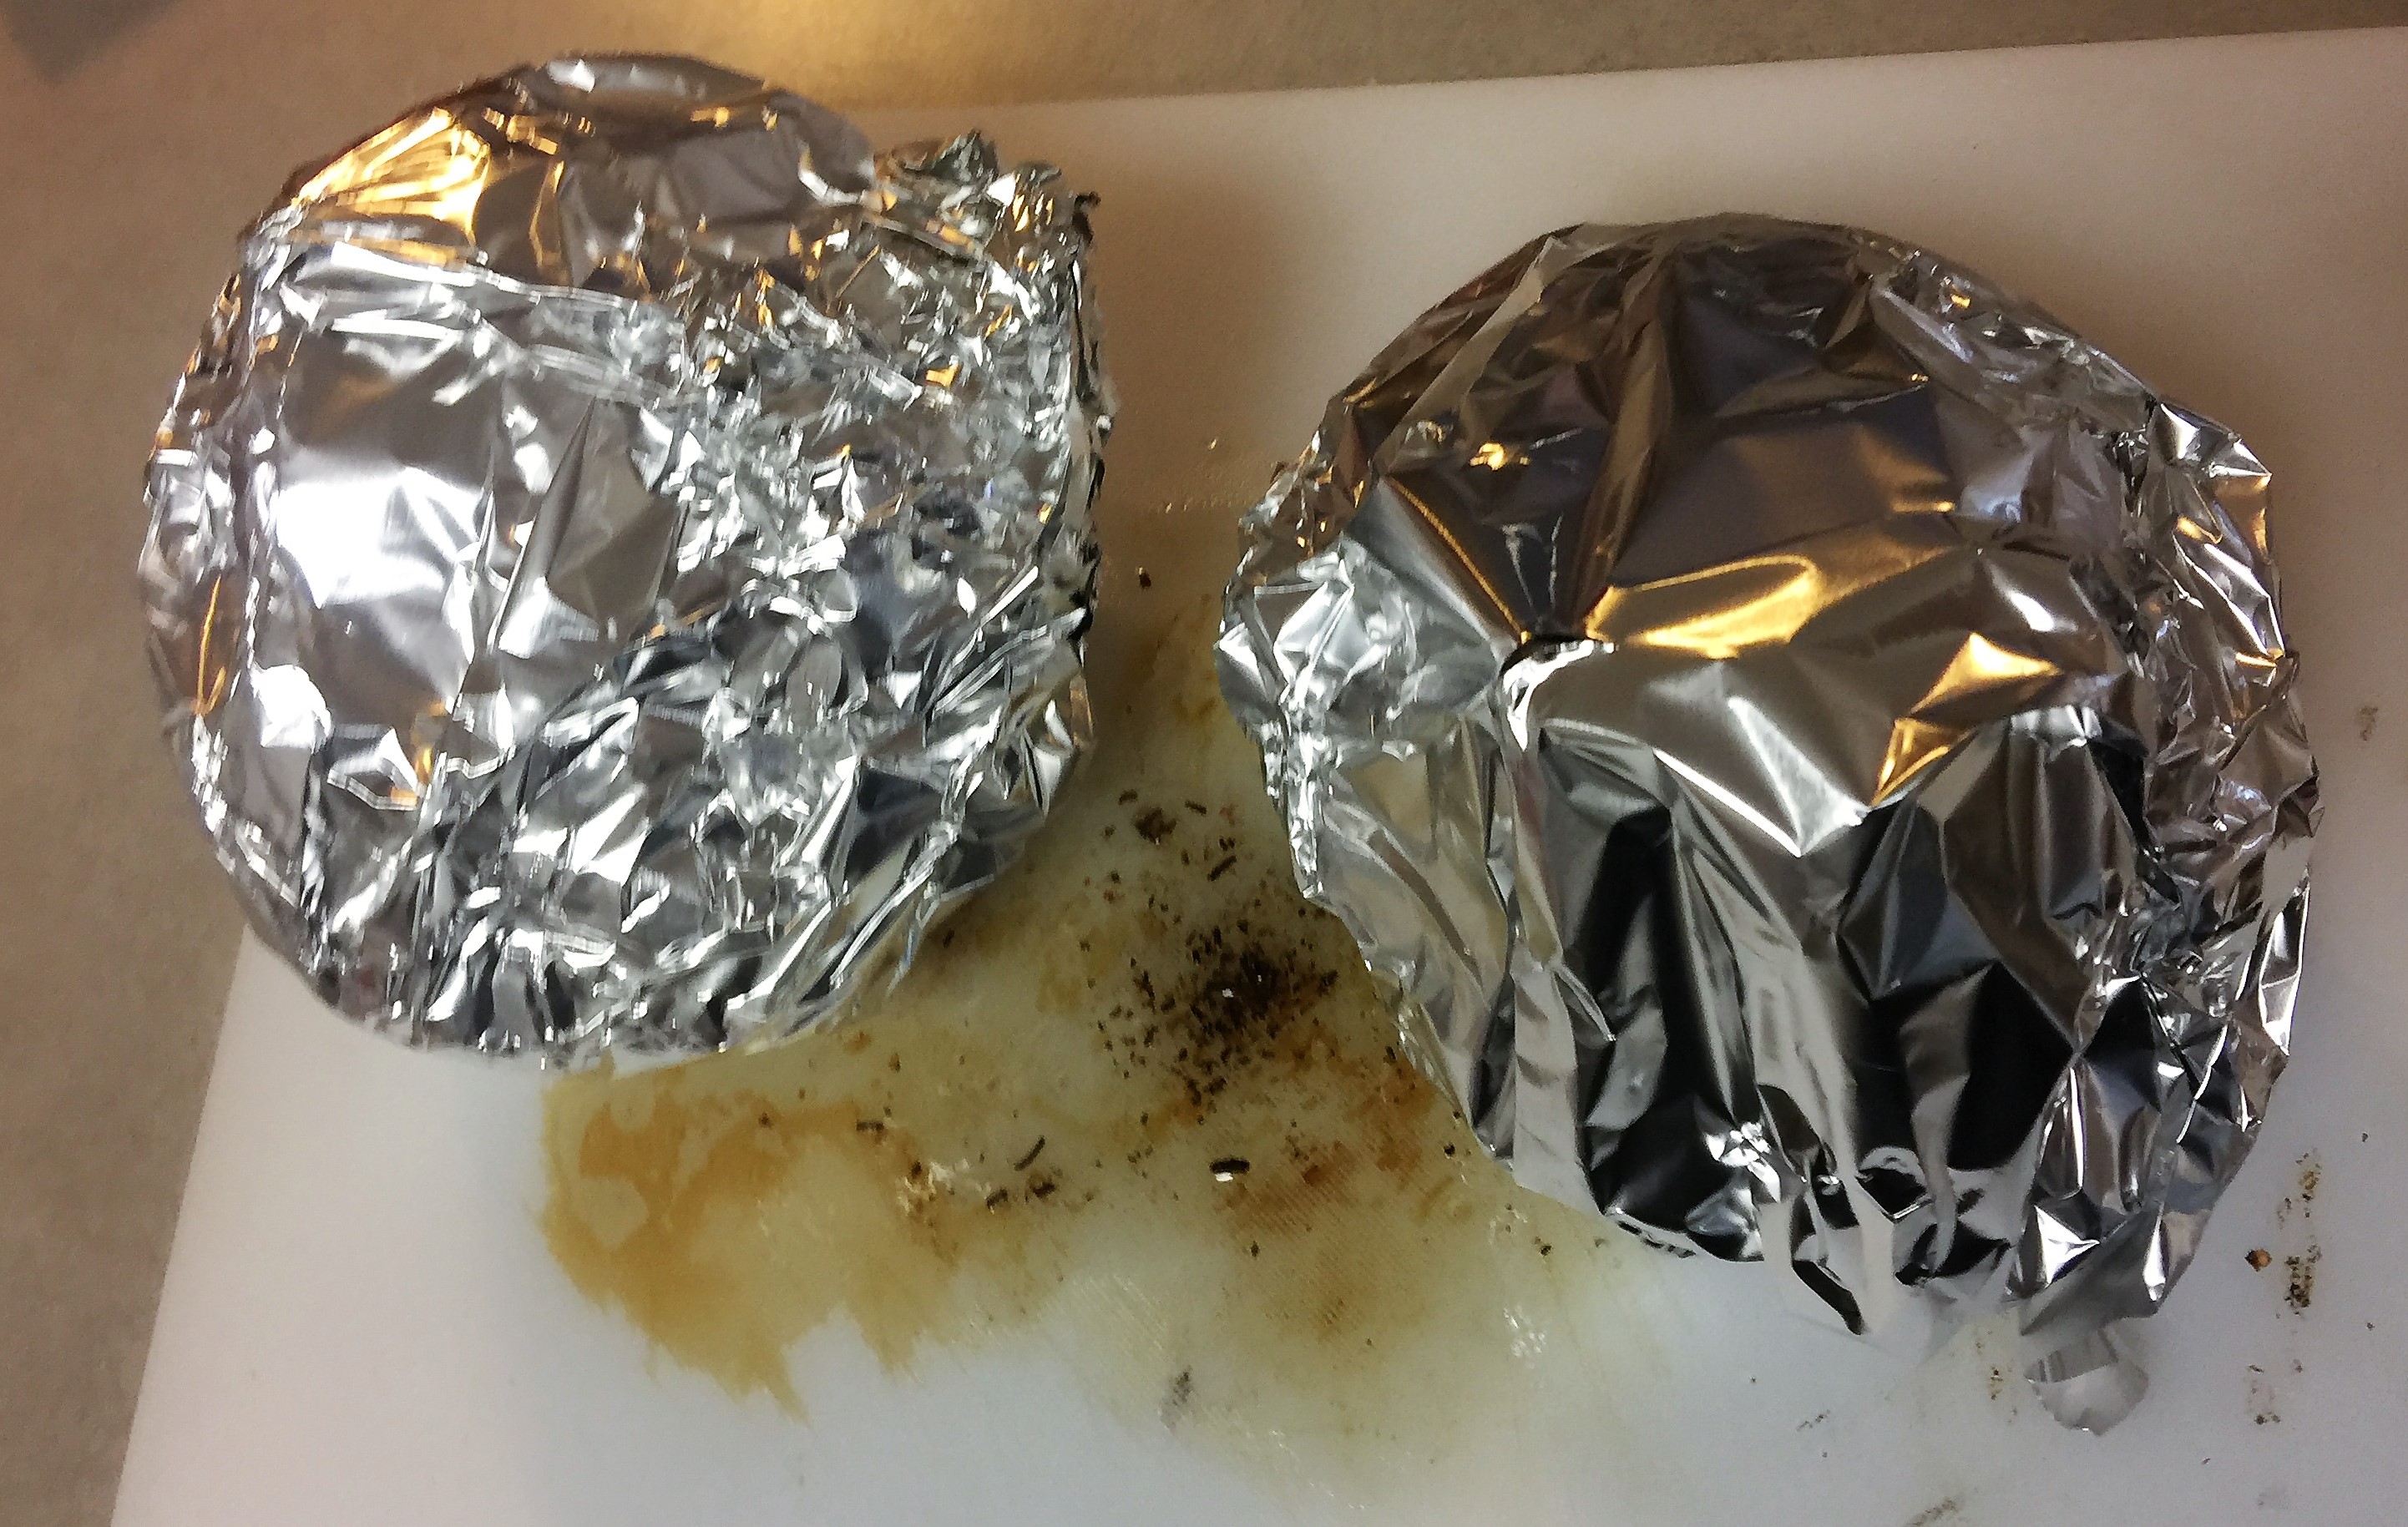
Once done (checked temps – too high) I removed the rod and wrapped both cuts in foil to rest for at least 1/2hour. Knowing I was too high on the internal temps, I really wanted to rest for as long as possible to get that moisture back into the meat. Perhaps this is what saved me from a tough dry meat?
All in all, it worked out, a great way to christen the Joetisserie.
What to do differently:
- Fire management
- Temperature monitor
- Dripping management
- Balance meat better before
Thanks for stopping by.
Joe On !!!

If you are in the area, give Peter a call – A1 service and top quality product.
Don’t forget to stop by the shop for the latest accessories for your grill
You may also wish to subscribe for the latest posts to be delivered to your inbox.